A New Republic in Town

By Hope Nelson

Drive east on New York Avenue to Ivy City—the formerly industrial northeast neighborhood enjoying a great –resurgence —and it’s easy to miss the bustle of activity at the intersection with Fenwick Street, adjacent to the old Hecht’s warehouse. But turn the corner and peer behind the glass-and-wood façade, behind the large garage-door-like window that opens upward to let in fresh air on pretty days, and see a new republic taking root.  

Here lies Republic Restoratives, the first women-owned distillery in the DC area. 

The distillery, which is currently selling vodka and has just released its first bourbon, was a long time coming, says Pia Carusone, co-founder with Rachel Gardner. “It was a loose thought for maybe eight years, but about 2011 we got serious about it,” Carusone said. One crowdfunding campaign and a storefront renovation later, Republic Restoratives opened this past Mother’s Day. 

“We love the neighborhood,” Carusone says. “It’s amazing.” The company was one of the first to sign a lease in what was a mostly derelict area of warehouses and with plenty of nods to the local vernacular takes its responsibility to the neighborhood seriously. Republic Restoratives’ brand logo—what appears at first glance to be a pair of crossed fingers—is actually the American Sign Language sign for the letter R, an homage to nearby Gallaudet University. 

Careful planning has left Carusone and Gardner in good start-up mode. The interior space is pleasing to the eye—from the glass- and woodwork throughout the tasting room to the distillery itself, a huge room with gleaming silver stills as showpieces. The upstairs barrel room houses the first batch of Borough Bourbon, sourced from a Kentucky distillery, now aging in pristine French wine barrels. The space is welcoming, homey in an unexpected way in this combination workspace and laboratory. 

“It’s a super-open layout because we wanted the facility to be really flexible in how we’re set up,” Carusone says. “So when we designed our operations here, we made equipment decisions that were going to be more than sufficient for our current need, but would also allow us to grow. We asked a bunch of distillers when we started, ‘What are your biggest regrets?’ and the one we heard over and over again was, ‘The still is too small. We wish we had bought a bigger still.’ And so we invested in one of the biggest stills in the region—far larger than we need right now, but again, we’re not going to have to replace it for a while.” 

The distillery’s aesthetic only serves to enhance libations worth the price of admission. For DC’s cocktail-savvy, both the Civic Vodka and the Borough Bourbon hold up to careful scrutiny—alone or in cocktails.  

The Civic is a silky-smooth vodka that lacks the burn of so many of its brethren and pairs quite nicely with a variety of mixers. The Borough’s stint in wine barrels brings about a spiciness with each sip.  

The city is responding. More than 100 restaurants and bars now carry Civic, Carusone says, and Republic Restoratives is looking to expand its reach into Maryland and Virginia as soon as the bureaucratic world of alcohol distribution allows.  

“This is the first time we’ve done this, so we didn’t have a ton of expectations, but we’re growing enough that we’re busy. Every day feels like we’re so busy, which is great,” Carusone says. “… We’re expanding. People are calling and asking for us. The word is out about the vodka; it’s delicious, people love it, and it’s priced fairly affordably.” 

That’s reason enough to lift a glass.


The Chin Chin Cocktail Recipe

Republic Restoratives, 1369 New York Ave. NE. For tasting room hours, distillery tours or to sign up for a private tour and tasting, go to republicrestoratives.com. 

Local Pit-Master Hopes to Smoke the Competition

Women's Competition is Hot at this Weekend's Giant National BBQ Battle

image1

By Susan Able, EdibleDC

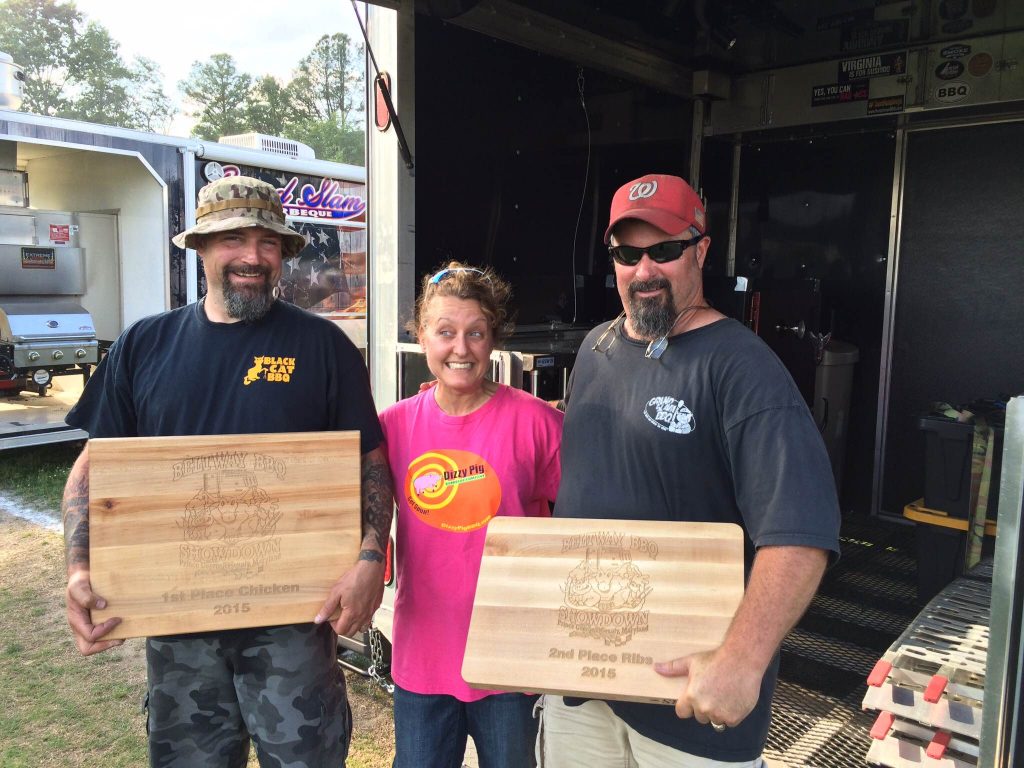
Jenny Windsor is ready to rumble this weekend and step up to win points toward the Cowboy Charcoal Women's Fire & Ice Championship BBQ Series, part of the 24th Annual Giant National BBQ Battle held Saturday and Sunday, June 25 & 26 in on Pennsylvania Avenue in downtown DC.  Jenny, a national competitor for 9 years, is owner of Black Cat BBQ from Severna Park, MD and is passionate about grilling on her Big Green Egg. A member of the Kansas City BBQ Society and the head cook for Black Cat BBQ, Windsor is one of a growing number of woman-led BBQ teams. She'll be competing both days and encourages people to stop by the Black Cat BBQ trailer at any time to say hello.

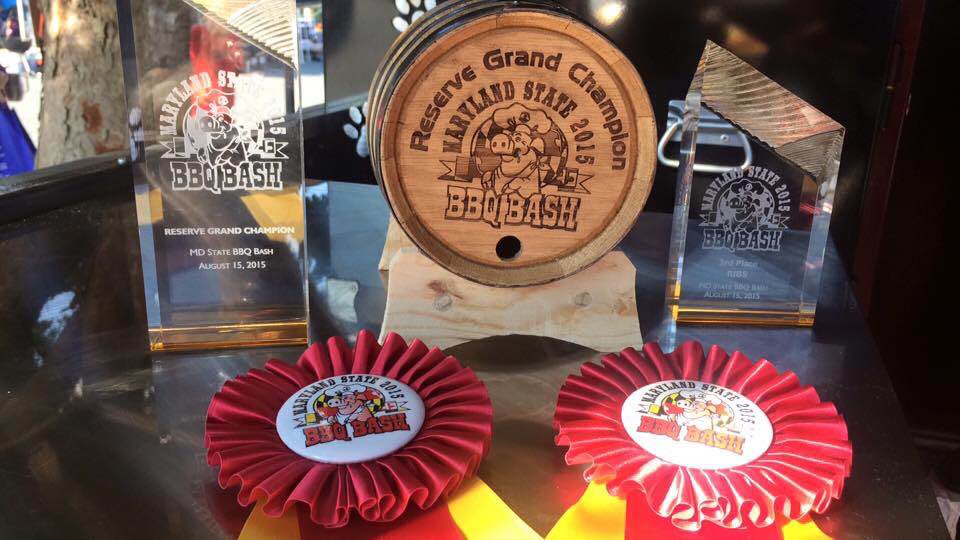
Windsor started off competing locally, her first win at the Chesapeake Jubilee in 2009. She and her husband, Jack Windsor, took a 4th place finish in Ribs and an 8th place in Pork with a 7th Overall finish. And Windsor was hooked on BBQ competiton.

But she already had competition in her blood--Windsor and her brother had been competing in national chili cookoffs, and in fact, she met her husband at a chili competition. In January this year, she and Jack were members of the winning “High Sierra Cooking Team” at the US National Open Championships in Terlingua, TX.

image3

We asked Windsor for any pro tips that a competitor from the national stage was willing to share with home grillers.

“Not sure this is a secret, but really the biggest key to winning is cooking the meat properly. If you aren't focused and don't have a schedule it's easy to loose track of where you are at a competition. Know your cooker and cook the meat perfectly. A real secret for me is that I actually do use Dizzy Pig Seasonings on every category.” [Dizzy Pigs is a local BBQ company producing rubs and seasonings, and also does classes. In Manassas, VA.]

“At home it's the same thing - don't loose track of where you are in the cooking process because you have guests. My Dad was up for Father's Day, last weekend and I cooked chicken and ribs for him. I had written out my timeline the night before, had all my meat prepped, all my spices out and was ready to go! “

What will Windsor's grill-centric menu be for her family for the 4th of July?image2

“Fourth of July will be brisket burgers on the egg cooked over the Cowboy Charcoal's Southern Style Lump! I am using it this weekend for the chicken category too! I am really impressed with how hot it burns. It's perfect for getting the bite thru skin that judges want and the perfect grill marks on burgers. I also like grilled corn on the cob with a jalapeño butter. Anything you make traditionally (streamed or in the oven) can be cooked on a grill!”

And Windsor's favorite BBQ sauce or marinade?

“Favorite BBQ sauce would have to be Blues Hog Tennessee Red. I make my own brines/marinades so I'm not sure what commercial one that I could recommend. Sorry about that."

Good luck to our local pit-mistress, well pit-master!


The Giant National BBQ Battle is celebrating its 24th year, and benefits the USO and the Capital Area Food Bank. It will take place on Pennsylvania Avenue, June 25 and 26th starting at 11:00 a.m. For tickets and more details, go here.


Spring Ramp Pesto

Recipe and photos by Raisa Aziz, EdibleDC contributor

RampPestoJar

Spring is here! The market is filled with greens and pinks and light yellows. I can smell lilac and a hint of spring onions as I walk through the stalls. It's pretty joyous after months of bundling up and eating root vegetables at every meal.

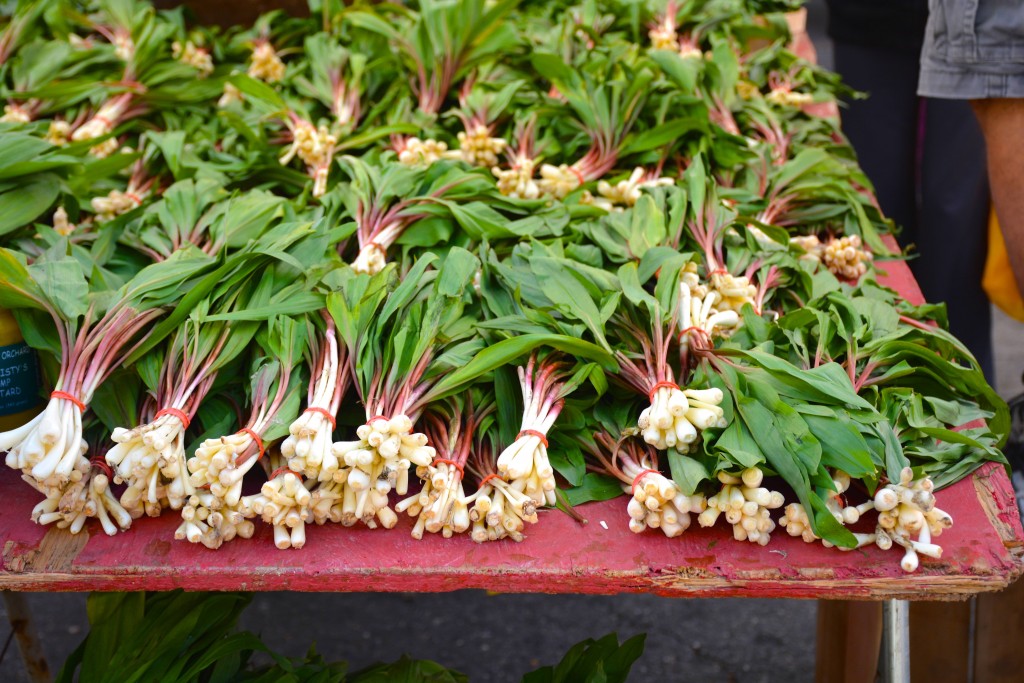
It's also time for ramps. Somewhere between a leek and spring garlic, ramps have a fairly short season and are usually hand foraged, so it's best to enjoy them while you can. Ramps have a unique strong oniony garlicky flavor making them an excellent base for pesto.

RampFarmersMkt

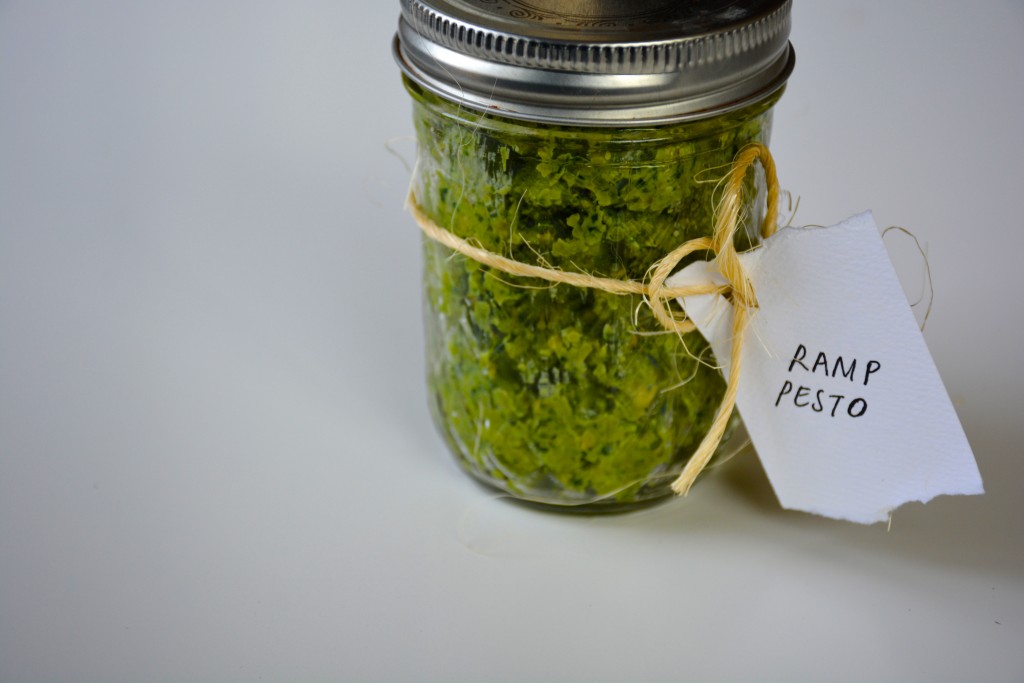
My recipe for ramp pesto is light on the garlic and heavier on the lemon, perfect for a perfect spring pasta or on a pizza or flatbread. Pesto can also be frozen, so it's a great way to save the flavor of ramp season for later.

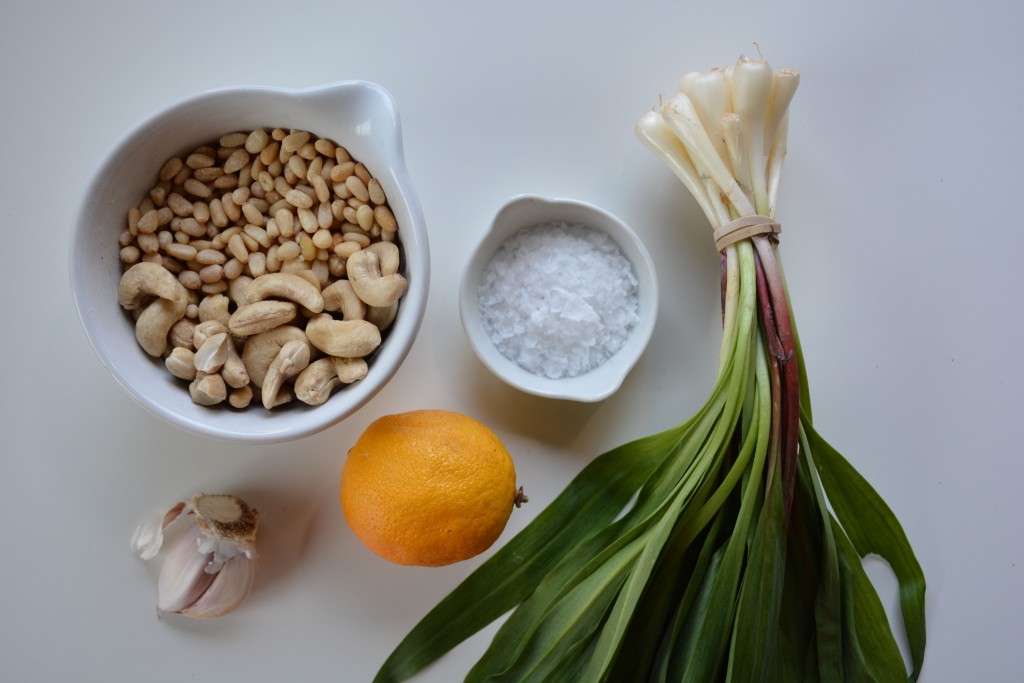
RampPestoIngredients

Spring Ramp Pesto

One bunch ramps, loosely chopped (about 2 cups)

1/2 cup unsalted cashews 1/2 cup pine nuts 1/4 cup parmesan cheese 1/4 cup olive oil 1/2 lemon, squeezed 1 clove garlic Salt and pepper, to taste

Toast nuts in a saucepan on medium heat, moving frequently, for about 2-4 minutes until lightly golden. Set aside. Place nuts, olive oil, cheese, ramps, lemon juice and garlic into a food processor. Pulse in bursts until smooth. You may need to use a spatula to move the mixture around a few times so there are no big chunks in your pesto. Add salt and pepper to taste and pulse once more. Spoon pesto into a jar with a tight lid. Add a thin layer of olive oil to the top to prevent browning. Refrigerate and use within a week. You can also freeze the pesto in an air-tight container.


RaisaRaisa Aziz (@raisaaziz) is a food stylist, photographer and writer in the DC area. When not cooking, baking or eating, you can find her bopping about town in search of local adventures.
Minty Farro Salad with Cucumber & Kale

by Emily Spaeth, From the Farmer Sponsored Edible_FarroSalad

Ingredients

1 cup farro 1 bunch Lacinato kale, de-stemmed & cut into thin ribbons 1/4 cup mint leaves, de-stemmed & thinly sliced 1 lemon (juice + zest) 2 tbsp olive oil A pinch (+) each of sea salt & pepper 1/2 cucumber, halved & thinly sliced 1/4 red onion, finely diced 1/4 cup feta, crumbled

Instructions

  1. Rinse and drain farro. In a medium saucepan, add enough water to cover about an inch above the farro, then bring to a boil; reduce heat to medium-low and simmer for 30 minutes. Drain any excess water and set aside.
  2. In a large bowl, combine kale with lemon, olive oil, sea salt & pepper, and mint; massage until the kale breaks down a bit and becomes softer. Combine farro, cucumber and red onion with the kale, tossing to mix together thoroughly.
  3. Lastly, add feta to the top of the salad - and enjoy!

See what else From the Farmer is cooking at notes.fromthefarmer.com. From the Farmer delivers farm-fresh produce, sustainable meat and artisan pantry items to your home, which means eating fresh, seasonal, and local in the D.C. area is now as easy as opening your door.

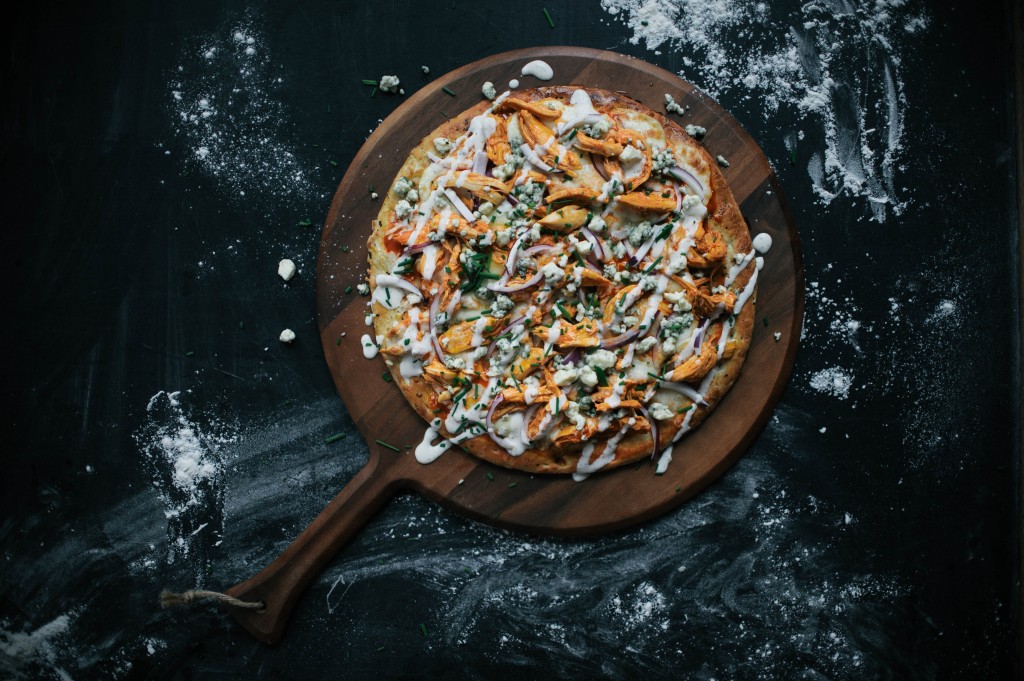
Superbowl Buffalo Chicken Pizza Recipe

by Bailey Weaver, special to EdibleDC EdibleDCshot

It's basically a crime not to consume Buffalo chicken this weekend, right? Here is a quick, easy and slightly less messy way for you to get your chicken wing fix, celery sticks not included. Make this year's Super Bowl celebration your best ever with this Buffalo Chicken pizza!

Makes one pizza. Feel free to double the recipe depending on the size of your Super Bowl party!

Ingredients 1 pre-made pizza dough 2 cooked boneless, skinless chicken breasts, shredded 3/4 cup mozzarella cheese, shredded 1/2 cup Buffalo wing sauce, plus extra for drizzling* 1/4 of a large red onion, thinly sliced into rounds 1/2 cup bleu cheese, crumbled 1 Tbsp chives, chopped 2-3 Tbsp ranch dressing for drizzling and dipping (extra ranch encouraged)**

Directions Pre-heat oven to 425°F.

Sprinkle a small handful of flour on a prep surface and roll out the pizza dough until it is 9-12" wide, depending on how thick you like your crust.

Place on a parchment-lined baking sheet and bake until dough is just starting to brown and appears to have set. Remove crust from oven and cool on a rack.

Set your oven to broil on high. In a large bowl, combine the shredded chicken and almost all of the Buffalo wing sauce. Spread the sauce-covered chicken all over the flatbread and top with the extra wing sauce. Sprinkle the mozzarella and red onion evenly on top.

Cook until the cheese is melted and the flatbread is golden, about 10 minutes. Top with crumbled bleu cheese and chives. Drizzle ranch dressing on the finished pizza. Slice and serve immediately!

*You can buy a pre-sauce, or make your own from scratch--most recipes are similar to this.

**Same thing with ranch dressing. You can buy it of course, but try making homemade --  it tastes so great and is easy to shake up in a Mason jar!


Headshot


Bailey Weaver is a taste-tester and food-lover who is always chasing after something new to experience. She believes that putting together beautiful, satisfying meals with fresh, seasonal food is the best kind of creating around. You can follow her on Instagram at @bb_weaver.

Purple Sweet Potato Buttermilk Biscuits

Words and photos by Amber Breitenberg, special to EdibleDC DSC_3535

I'm from Norfolk, Virginia, where, though we sometimes forget it, our roots run deeply Southern. I grew up quite familiar with the sweet potato biscuit, a classic southern side that goes perfectly with a thick slab of Virginia ham. This time of year sweet potatoes are quite ubiquitous in my CSA share and I had been planning to make a batch to go with some maple rashers we were saving from The Rock Barn.

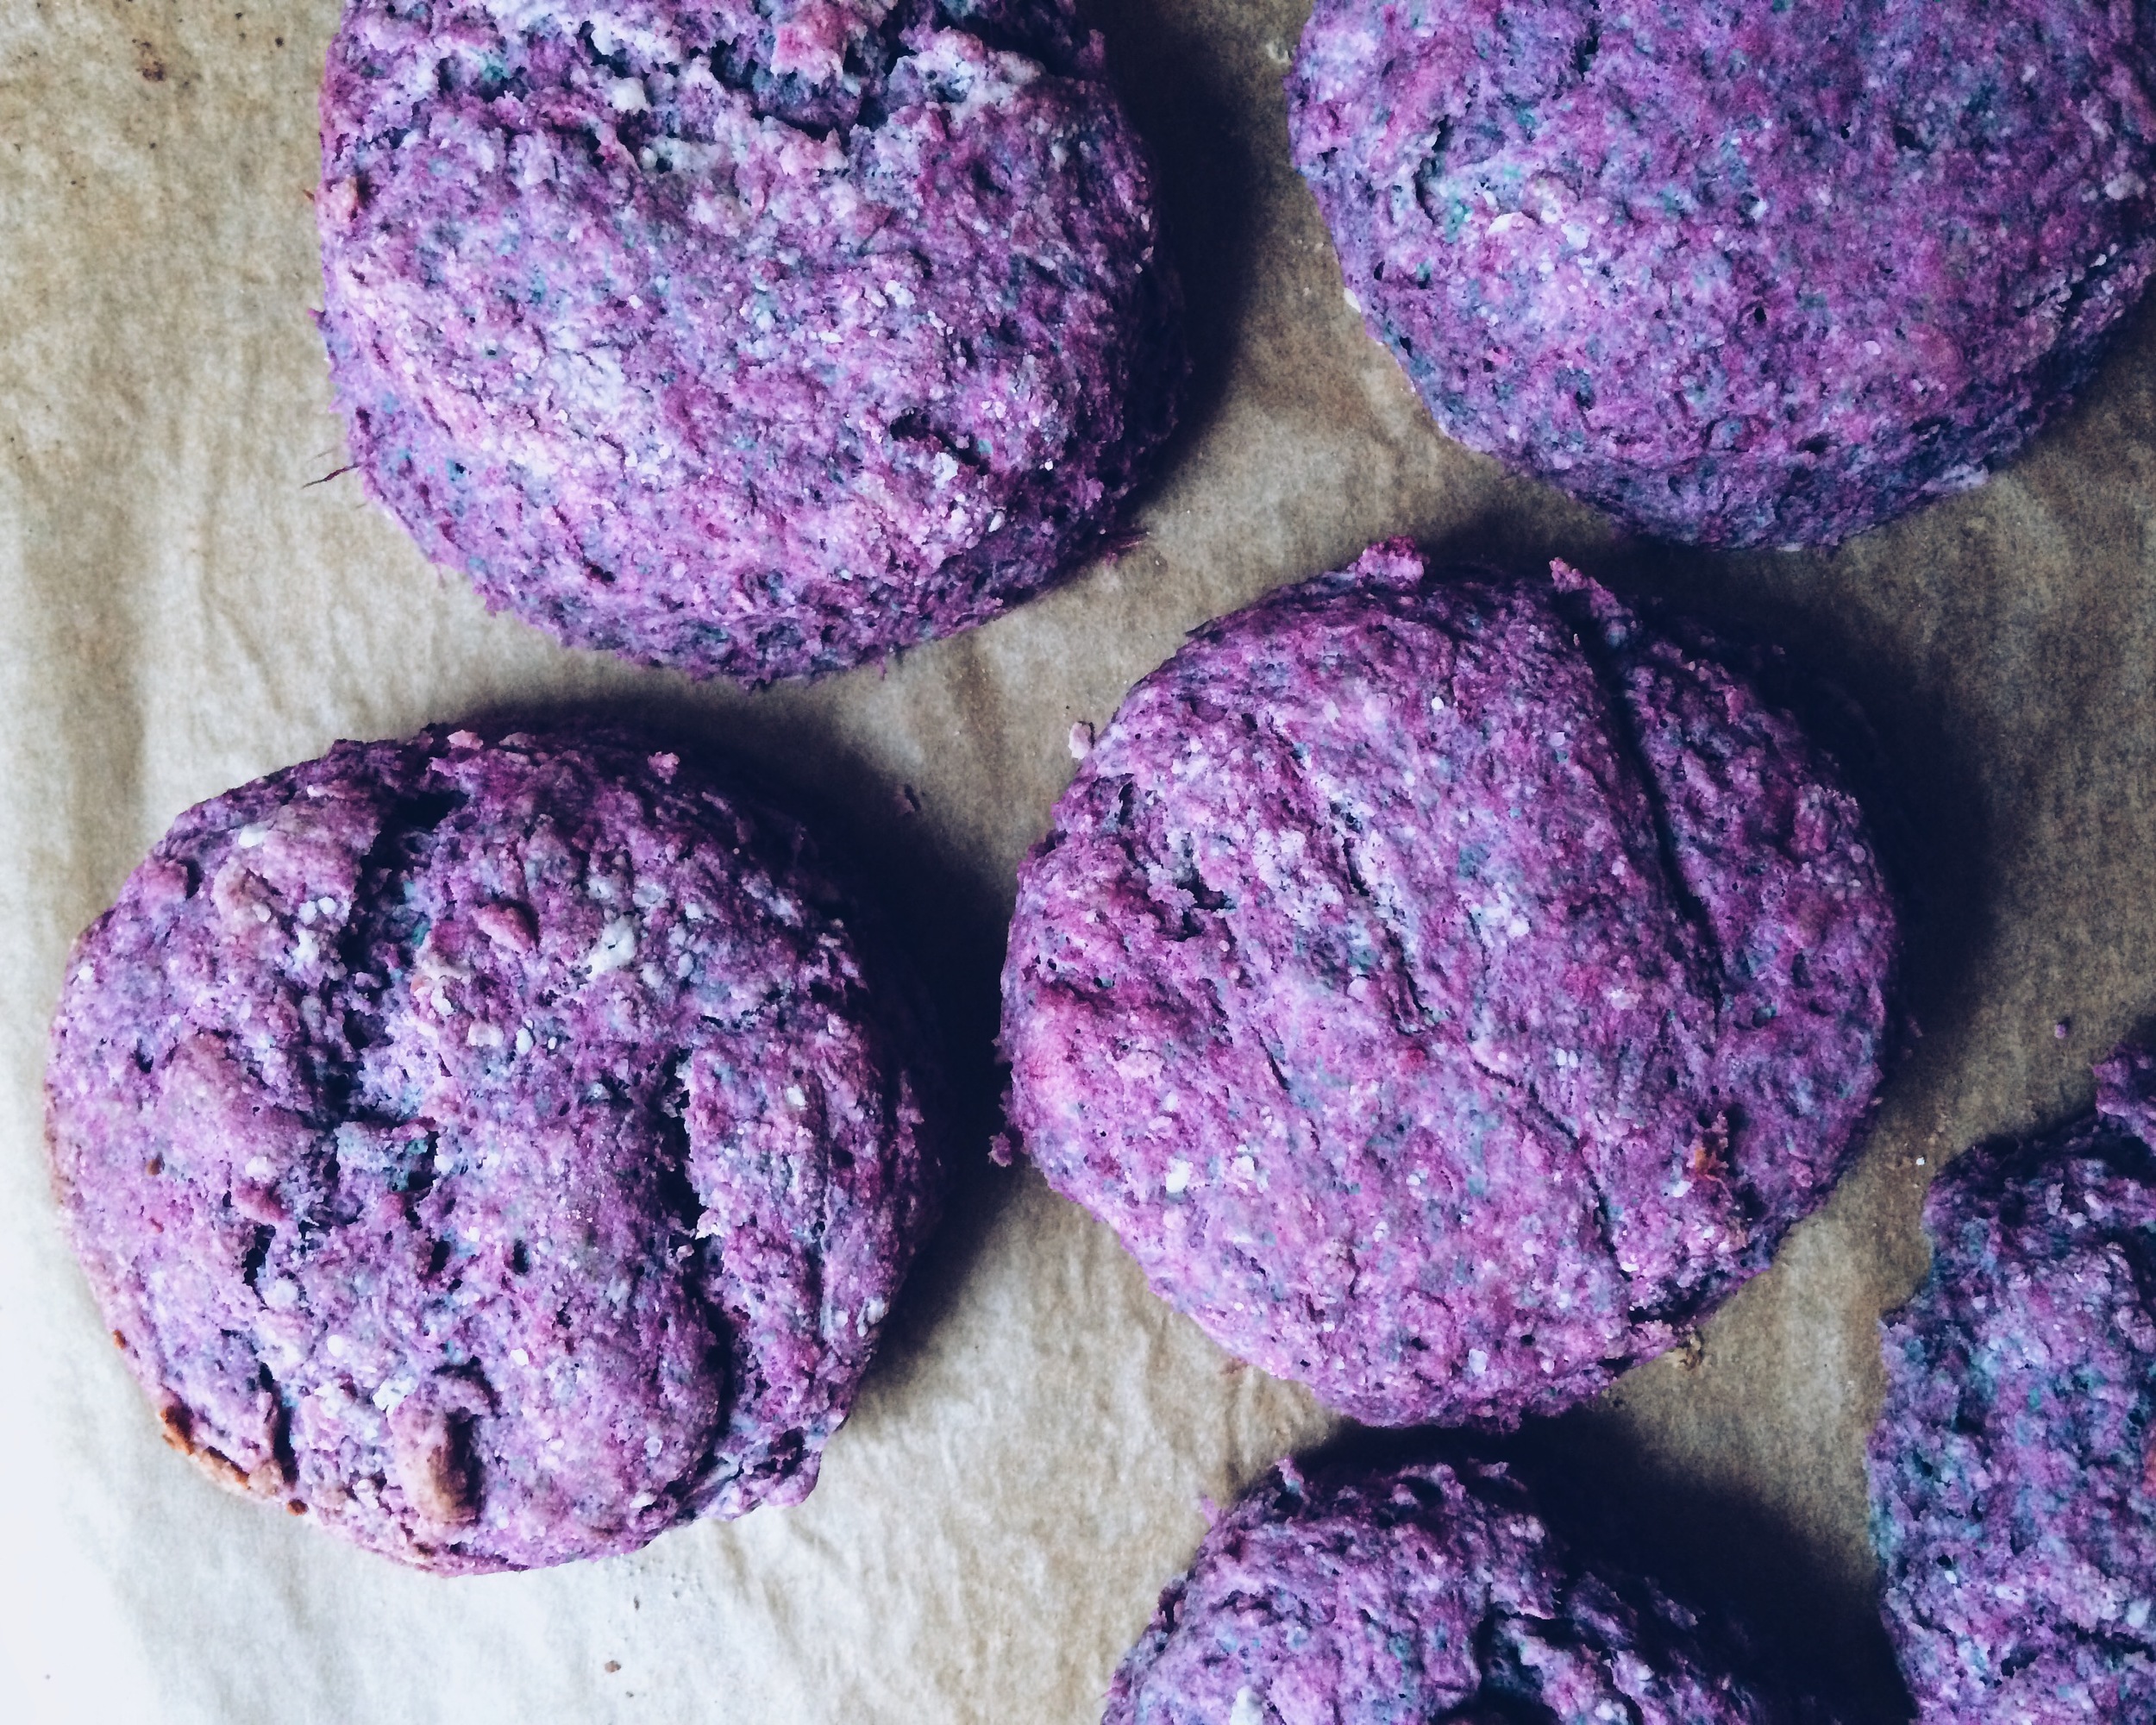
I happened to end up with a couple purple sweet potatoes and thought how cool it would be to make the classic sweet potato biscuit with a purple hue. I never would have guessed how vibrant and beautiful they would turn out, and obviously delicious. I love simple recipes that will make your guests say "that must have been so hard to make!" and then of course I get to explain that in fact it was quite easy--even bettter-- most of the ingredients came from our local farmers.

Ingredients

  • 2 cups all-purpose flour (I use a Gluten Free substitute like Bob's Red Mill Gluten Free 1 to 1 Baking Flour)
  • 2 1/2 tsp baking powder
  • 1/2 tsp kosher salt
  • 5 Tbs unsalted butter, chilled and cut into small pieces
  • 1/3 cup buttermilk
  • 3/4 cup baked sweet potato
  • 3 Tbs honey

Instructions

Preheat over to 400°F. Poke holes into sweet potato using a fork. Place sweet potato on baking sheet covered in aluminum foil in center of oven. Bake for 1 hour or until a fork can be easily inserted into the center of the sweet potato. Once cooked, scoop out the insides of the sweet potato and discard the skin. Place in refrigerator to chill.

Combine flour, baking powder and salt in a large bowl.

Cut in the butter with a pastry blender or a fork until the mixture resembles coarse meal. Place in refrigerator to chill.

In a small bowl, combine the buttermilk and honey, stirring with a whisk until well blended. Add the sweet potato and continue whisking (I prefer to use a hand mixer or you can throw everything into a food processor to make sure everything is well mixed)

Add the buttermilk mixture to the flour mixture and stir gently until moist (you may need to add one or two additional tsp of buttermilk if the dough seems too dry).

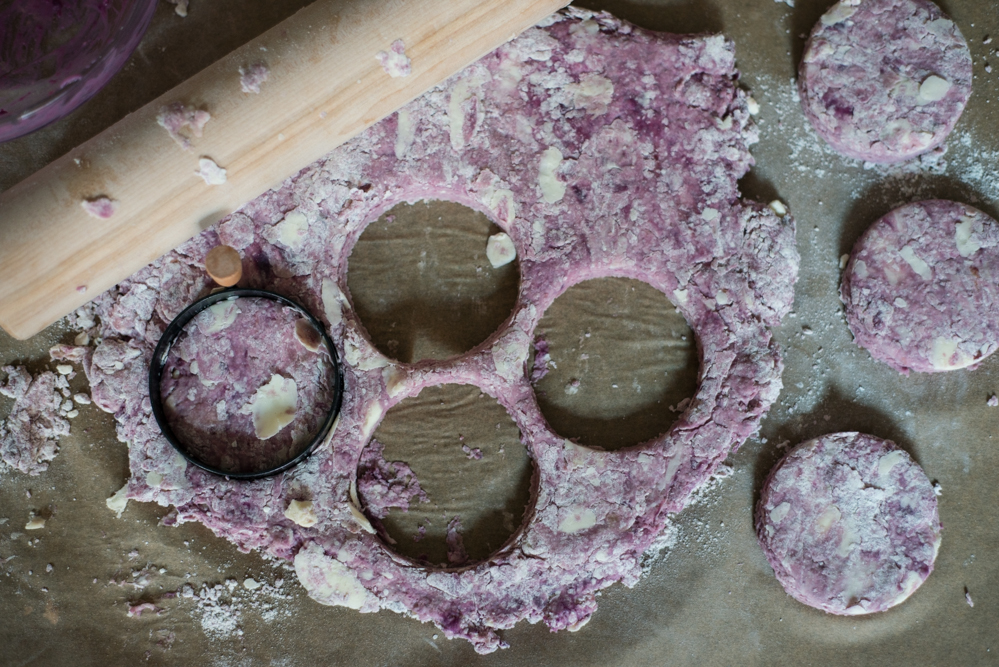
DSC_3501

Turn dough onto a lightly floured surface and roll out to about 1/2 inch thickness. Lightly dust the top of the dough with flour.

Fold the dough in half twice and reroll to about 3/4 inch thickness. Cut dough into rounds with a biscuit cutter. Combine edges and reroll dough until all of the dough has been used.

Processed with VSCOcam with a5 preset

Place dough rounds on a baking sheet lined with parchment paper about 1 inch apart.

Bake for 12-14 minutes or until you can see the dough beginning to flake.

Remove biscuits and let cool for several minutes before eating.

*These are best served right out of the oven and in my opinion do not store very well. So when you make them plan to have friends over to enjoy them with you or be prepared to bring a few to your neighbors.


Amber Breitenberg-Finished-0024Amber Breitenberg is a food and lifestyle photographer living in Washington, DC. Through her blog, A Little Terroir, she shares the stories of our local farmers and producers and offers some lessons she has learned along the way about living and eating with a sense of place. @alittleterroir