
Seasoned with Love: Nana's Apple Pancakes
/By Elise Smith, Photography by Meghan McQuaid
Brown butter wasn’t the only key to Nana’s apple pancakes
My maternal grandmother, Winifred “Winnie” Morgan—my Nana—gave me one of my most precious gifts: my love of cooking. One of my earliest memories is coming down the stairs early in the morning and smelling the scent of browning butter. If you asked my Nana why she chose to use a brown butter technique, she would have answered, “Baby, that’s just how you got to do it. That’s how you get the flavors just right.” My Nana was never concerned with the specifics of culinary terminology. She was a self-taught cook and baker. Everything she learned was from trial and error.
Walking into the kitchen as a girl, I remember finding her drizzling the hot brown butter over sugared-and-spiced Granny Smith apples, the warm aroma of cinnamon, brown sugar and nutmeg hitting me instantly. My Nana told me to climb up onto the counter. She knew if she didn’t pick a special place for me—her partner, as she affectionately referred to me—I would follow her all around the kitchen, tight on her heels.
Once the apples were complete, she tossed me a glance and said, “What do you smell?”
Eager to play the game, I excitedly said, “Butter. No, hot butter!”
She replied, “Good. What else?”
“Apples and spices!” I shouted. (“Spices” was what I called cinnamon until I was about 6.)
“Excellent!” she said. “Now what do you see?”
I looked down and realized what lay ahead for the ingredients around me. “PANCAKES!” We’re making pancakes, Nana!”
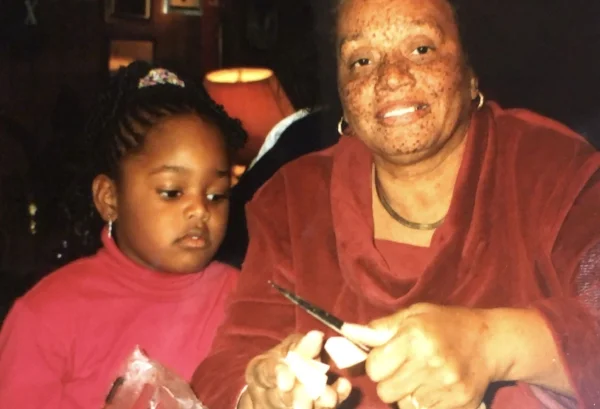
The author Elise Smith with her Nana in the kitchen.
And my very favorite pancakes were these, hot brown-buttered apple. She slid the bowl over in front of me and handed me her favorite wooden spoon. Her hazel eyes met my big brown ones and she gave me a wink, as if to say, “What are you waiting for, partner?” With that, I began to stir the mixture, going slow, remembering how I watched her do it. Mixing slowly and scraping the sides, making sure to leave some clumps, just like she always told me. Constantly looking up to watch her watching me, I was nervous. I wanted to do it just right. But in no time, the mixture came together into a proper batter, and I proclaimed, “Done!” She checked the batter, then gave me a grin, which everyone knew was her signature seal of approval.
After that, she added a pat of butter to the heated cast-iron skillet and scooped the batter in, letting each pancake cook just a moment before adding the apples to the middle. Three apple slices fanned out at the center—just to “show-off,” she would say. I watched her scoop and pour and flip with bated breath, delighted to see her in her element, knowing I would be eating a delicious breakfast soon.
Now, more than 20 years later, when I think back on this memory I view everything in slow motion, as if the universe knew that one day I, too, would become a cook and would share my food with the world. My Nana had a way about her, something intangible, yet palpable when you were in her presence. She made everyone she interacted with feel special and wanted. If I forgot everything else about my Nana, I will never forget the way she made me feel and the love she planted in my heart for family and for cooking. Because cooking and feeding others are two of the purest and most endearing acts of love.
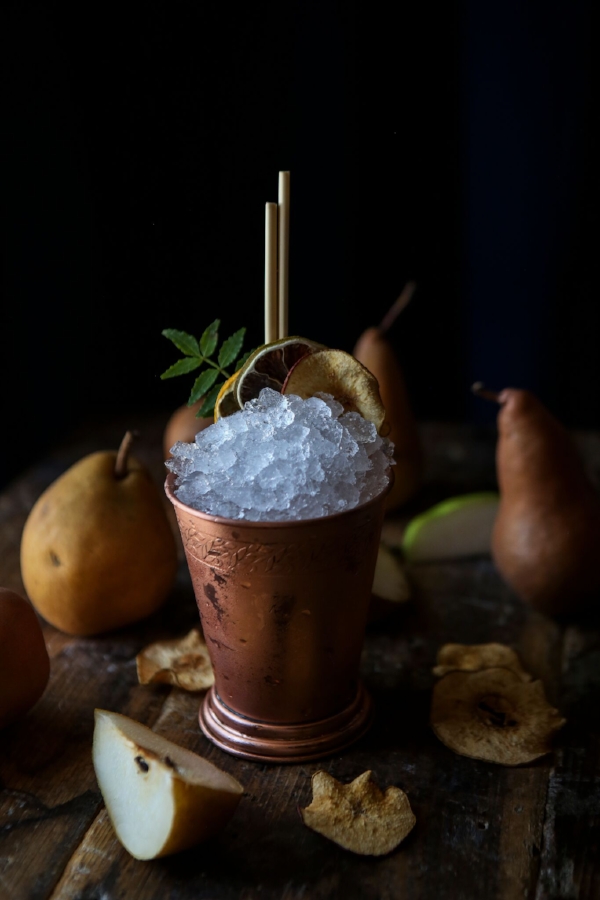
Maple syrup or honey pair perfectly with these apple pancakes.
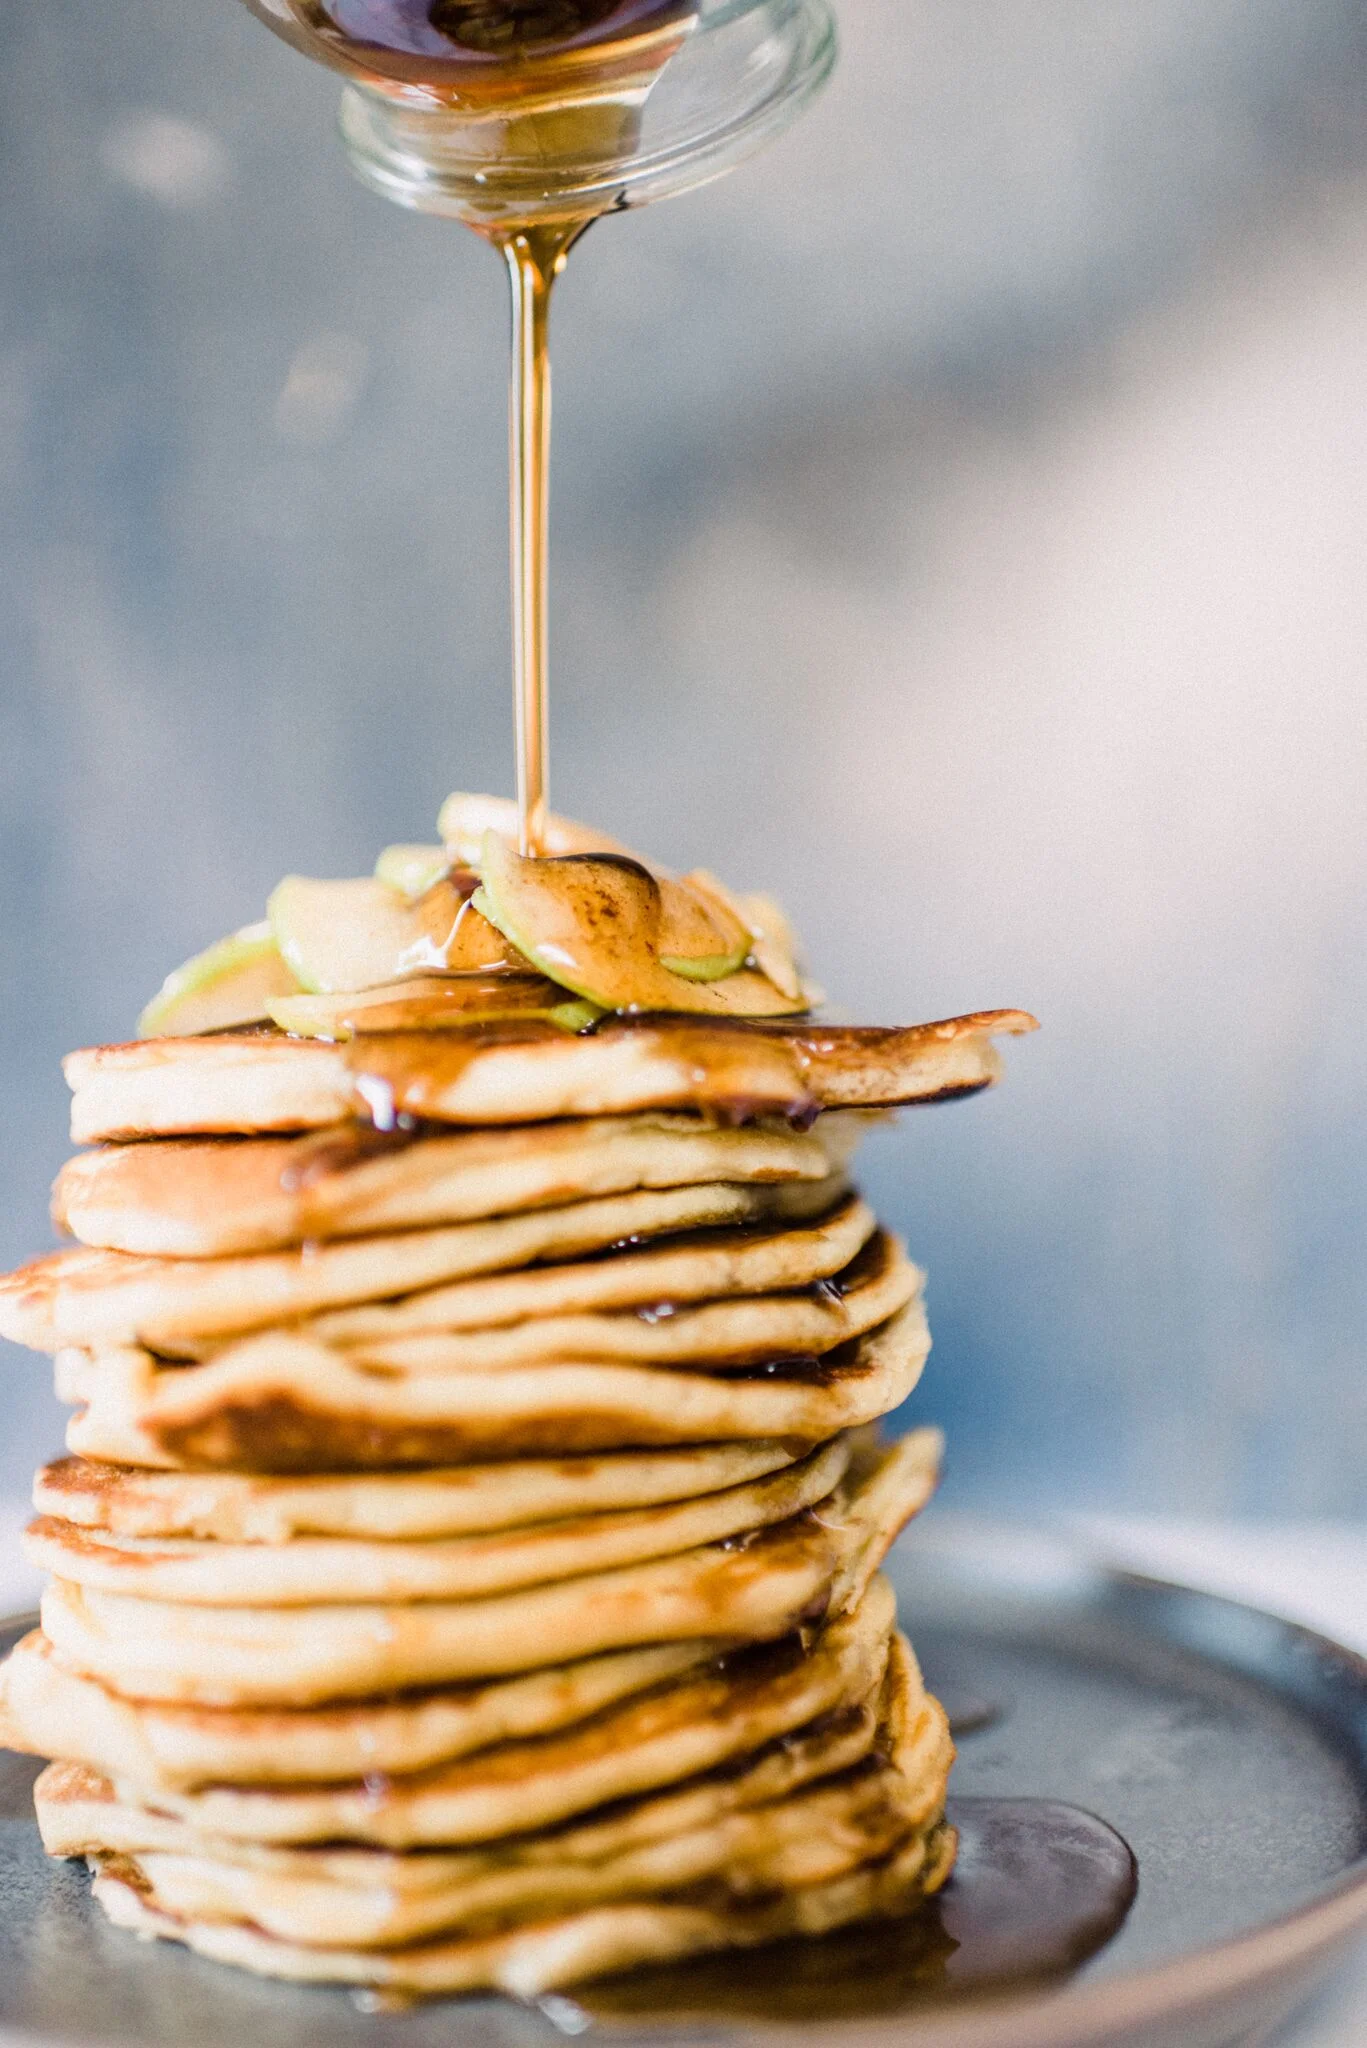
BROWN BUTTER APPLE PANCAKE
Brown Butter Apples
1 tablespoon light brown sugar
½ teaspoon cinnamon
⅛ teaspoon nutmeg
2 Granny Smith apples
12 tablespoons unsalted butter
In a small bowl, whisk together the brown sugar, cinnamon and nutmeg. Mix until very little or no clumps remain from the brown sugar. Set aside.
Peel the apples, then core the apples, halve them and cut them in ⅛-inch-thick slices using a knife or mandoline. Toss the apples with sugar spice mixtures. Set aside.
In a small saucepan over low-medium heat, melt the butter. Cook for 6–7 minutes, stirring or swirling often, making sure the butter doesn’t burn. Once you smell a mild nuttiness and the butter becomes amber in appearance, quickly take it off the heat and place atop a wire rack to cool. Allow to cool for 5 minutes.
Pour 2 tablespoons of the brown butter atop the spiced apples and toss, using your hands to well coat each slice. Set aside.
Pancakes
(Makes 16–20 pancakes, serves 4–6.)
2 cups all-purpose flour
3 tablespoons granulated sugar
2 teaspoons baking powder
1 teaspoon baking soda
1 teaspoon salt
Pinch of cinnamon
2 eggs, at room temperature
¼ cup whole milk
1 teaspoon vanilla extract
2 cups whole-fat buttermilk, at room temperature
In a large bowl, add the flour, sugar, baking powder and soda, salt and cinnamon. Whisk to combine and set aside.
In a small bowl, beat together the eggs, whole milk and vanilla extract. Once well incorporated, mix in the remaining cooled brown butter. Mix until evenly combined and smooth.
Make a well in the center of the dry ingredient bowl, pouring in the egg mixture. Using a wooden spoon, stir in the buttermilk and mix until the wet and dry ingredients are well incorporated. The texture should be cohesive with some remaining clumps visible.
Lightly butter a griddle heated to 375° or a seasoned cast-iron skillet, over medium-high heat (check by flicking a little water into the pan; if it pops and dances—it’s ready). Scoop about ⅓ cup of batter for each pancake. Cook until the edges just start to solidify. Then, add 3 slices of the spiced apples to the center of each pancake and cook a moment longer, until bubbles begin to appear, and then flip.
Serve hot with maple syrup—or, how my Nana and I enjoyed them, with a little honey. Enjoy!