

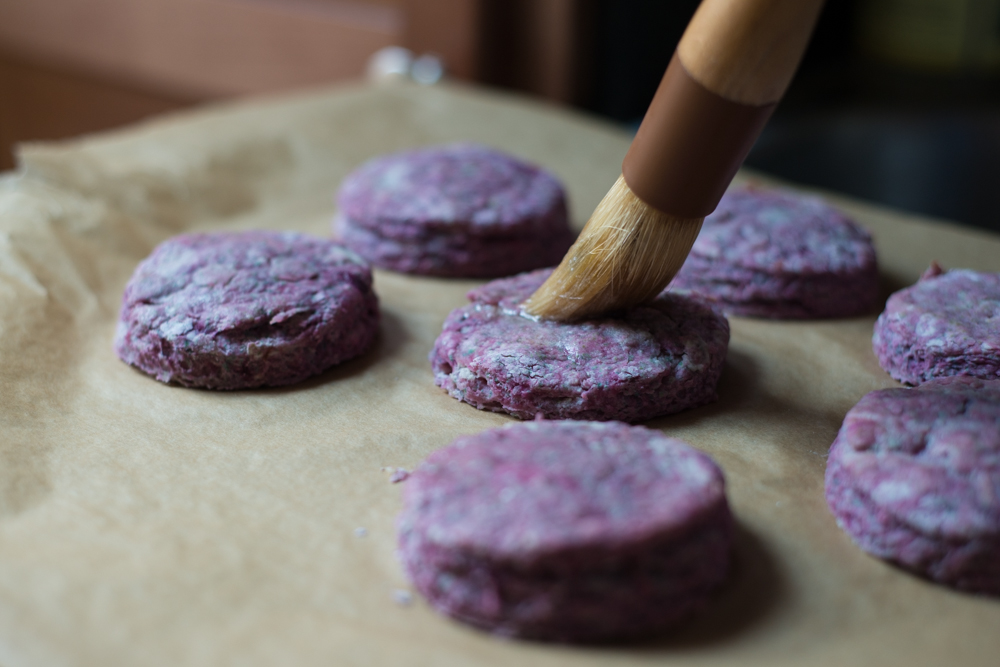
Purple Sweet Potato Buttermilk Biscuits
/
Words and photos by Amber Breitenberg, special to EdibleDC
I'm from Norfolk, Virginia, where, though we sometimes forget it, our roots run deeply Southern. I grew up quite familiar with the sweet potato biscuit, a classic southern side that goes perfectly with a thick slab of Virginia ham. This time of year sweet potatoes are quite ubiquitous in my CSA share and I had been planning to make a batch to go with some maple rashers we were saving from The Rock Barn.
I happened to end up with a couple purple sweet potatoes and thought how cool it would be to make the classic sweet potato biscuit with a purple hue. I never would have guessed how vibrant and beautiful they would turn out, and obviously delicious. I love simple recipes that will make your guests say "that must have been so hard to make!" and then of course I get to explain that in fact it was quite easy--even bettter-- most of the ingredients came from our local farmers.
Ingredients
- 2 cups all-purpose flour (I use a Gluten Free substitute like Bob's Red Mill Gluten Free 1 to 1 Baking Flour)
- 2 1/2 tsp baking powder
- 1/2 tsp kosher salt
- 5 Tbs unsalted butter, chilled and cut into small pieces
- 1/3 cup buttermilk
- 3/4 cup baked sweet potato
- 3 Tbs honey
Instructions
Preheat over to 400°F. Poke holes into sweet potato using a fork. Place sweet potato on baking sheet covered in aluminum foil in center of oven. Bake for 1 hour or until a fork can be easily inserted into the center of the sweet potato. Once cooked, scoop out the insides of the sweet potato and discard the skin. Place in refrigerator to chill.
Combine flour, baking powder and salt in a large bowl.
Cut in the butter with a pastry blender or a fork until the mixture resembles coarse meal. Place in refrigerator to chill.
In a small bowl, combine the buttermilk and honey, stirring with a whisk until well blended. Add the sweet potato and continue whisking (I prefer to use a hand mixer or you can throw everything into a food processor to make sure everything is well mixed)
Add the buttermilk mixture to the flour mixture and stir gently until moist (you may need to add one or two additional tsp of buttermilk if the dough seems too dry).

Turn dough onto a lightly floured surface and roll out to about 1/2 inch thickness. Lightly dust the top of the dough with flour.
Fold the dough in half twice and reroll to about 3/4 inch thickness. Cut dough into rounds with a biscuit cutter. Combine edges and reroll dough until all of the dough has been used.

Place dough rounds on a baking sheet lined with parchment paper about 1 inch apart.
Bake for 12-14 minutes or until you can see the dough beginning to flake.
Remove biscuits and let cool for several minutes before eating.
*These are best served right out of the oven and in my opinion do not store very well. So when you make them plan to have friends over to enjoy them with you or be prepared to bring a few to your neighbors.

Amber Breitenberg is a food and lifestyle photographer living in Washington, DC. Through her blog, A Little Terroir, she shares the stories of our local farmers and producers and offers some lessons she has learned along the way about living and eating with a sense of place. @alittleterroir

