Mat-to-Table: a food experience for yoga enthusiasts at Patowmack Farms

by Anya Kroupnik Farm

Just over an hour outside of D.C. is Patowmack Farms in Lovettsville, VA, which recently hosted its first “Mat-to-Table Experience”, taking participants through a strengthening vinyasa yoga class in a beautiful pastoral setting, followed by a guided tour of the working organic farm and a family-style organic brunch. Traveling through the thick green forests of Virginia on that Sunday morning gave my companions and me plenty of time to wake up and get ready for our adventure; we enjoyed having a day to get out of the city and breathe some fresh air.

Yoga

We began our experience with a delicious watermelon smoothie, then spent a tranquil hour-and-a-half with the vinyasa yoga instructor Laura Lightbody, surrounded by a rural symphony of buzzing cicadas, chirping crickets, and crowing roosters in the morning sunshine. Following our yoga class, we toured the farm with owner Beverly, who showed us the source of all the beautiful flowers that were later on our tables and much of the food that ended up in our bellies. Beverly answered all our questions about maintenance of the farm, their organic practices, and her farm learning experience along the way. After seeing all the fresh veggies, we were ready to feast.

Table

And a feast it was! The family-style menu brought a never-ending flow of delicacies. Some of the highlights included a warm burrata cheese filled with eggplant foam, served with creamy eggplant crostini topped with just the right ping of salt from capers and drizzled with olive oil, sitting alongside a light Israeli couscous salad with red-veined sorrel and shiso leaves, garnished with lovely onion flowers - the perfect combination of creamy, bright lemony notes.

Food

Food

The charcuterie featured smoky Surryano ham (from a rare heritage breed of hogs raised in Virginia); a simultaneously tender and crispy grilled beef tongue; crunchy green bean pickles; and home-made whole grain mustard. The main course included tamari caramel mid-Atlantic swordfish and hot aged cheddar whipped grits, which was particularly appreciated by myself and my friends since porridge is deeply ingrained in our eastern European roots.

Food

Food33

As if the savory dishes weren’t enough, dessert was another meal in itself, including bacon caramel shortbread bites; watermelon cubes dipped in lime labne and topped with fresh hyssop and pistachios; and, last and certainly not least, the beautifully presented cinnamon concha (toasts) with Concord grape jelly and miso cream, all topped with a crumble. Did I mention we had coffee with sweet fresh farm cream during dessert?

Patowmack Farm

Ohm. Yoga should always taste this good.

Back-to-School Lunch Rescue: Burrito Bites & Fruit Leather Sushi

by Kristen Hartke BacktoSchoolA fabulous array of kid-friendly finger foods. Clockwise from top left: Fruit leather sushi made with peaches and watermelon; fresh watermelon “fingers”; fresh Mexican sour gherkin cucumbers (sometimes found at farmers markets and through our friends at Washington’s Green Grocer — and easy to grow at home); Burrito Bites.

Sometimes, when you’re a parent, your toughest dining critic is a two-year old. It gets even tougher when that toddler starts school and inevitably starts measuring the contents of his lunchbox against those of the kid sitting in the next seat. The competition is cutthroat in the cafeteria, where your own progeny sits prostrate in front of a boring, but lovingly prepared, PB&J — no doubt made with freshly ground peanut butter, raspberry jam made from fruit grown in your community garden, and home-baked bread from locally-milled wheat... yet he stares longingly at the monosodium-glutamate-loaded pre-packaged build-your-own-pepperoni-pizza-on-a-cracker extravaganza being devoured by The Luckiest Kid in the World.

The best thing you can do to try to give your own kid an edge, and yourself a break, is to make the same boring food look fun. Some day he’ll realize that your efforts were, in fact, far more delicious than that stuff that comes in a box, but, until then, you’ll be the worst parent ever. Don’t worry; by that time, he’ll be a teenager and despise you for a whole bunch of other stuff you haven’t even started worrying about yet.

Burrito Bites

1 8-inch round tortilla

Refried beans

Salsa (Peach-Mango is always a favorite in our house)

1 green bell pepper, cut into thin strips

Spread refried beans over the surface of the tortilla and then spread a thin layer of salsa over the top — leave about a 1/2-inch border around the edge of the tortilla, as the beans and salsa will spread out when you begin to roll the burrito. Place the pepper strips in horizontal rows across the tortilla, then roll the tortilla horizontally, keeping it fairly tight as you roll. Using a sharp knife, cut the rolled burrito into 1-inch pieces. Because there is no dairy in this dish, it will keep well in a lunchbox for a few hours. Makes about 8 individual burrito bites.

Fruit Leather Sushi

2 fruit leather strips, any flavor (check the package and look for 100% fruit ingredients)

Peanut butter or similar spread (coconut, cashew, & soynut butter are also great)

Sliced fresh fruit (peaches, watermelon, and pineapple are good choices)

Spread the peanut butter on the surface of the fruit leather. Add a slice of fresh fruit about an inch from one end of the fruit leather and then start rolling; the peanut butter will act as a glue to keep the fruit leather together. Cut the roll in half on a diagonal; this makes a great lunchbox treat or afterschool snack. Makes 4 individual sushi pieces.

Overrun with zucchini? Make Zucchini Bread — that actually tastes like zucchini

by Rachael Bender

Zucchini

This year my garden has exactly one zucchini plant.  Multiple tomato plants, four basil, a few dill, and some parsley. But only one zucchini.

However, this zucchini plant has all but taken over almost an entire garden box - spreading itself out into the aisles of the garden, twisting into the tomatoes, and forcing the relocation of two pepper plants.  Seriously, it looks like Audrey II from “Little Shop of Horrors”; in fact, every time I water the garden, I can hear it saying, “Feed me, Seymour!”

So I have spent the whole summer looking for new ways to use all my zucchini.

To my welcome surprise, while reading Gail Simmons book, Talking with My Mouth Full, I was drawn to the section where she writes about how, while she was growing up, her mother used zucchinis for everything, instead of more traditional ingredients.  Yes!  Someone who understands.

Inspired, I decided to just start putting zucchini in everything, but started out, as most people do, with baked goods.  I have a recipe I like for zucchini muffins, but the finished product tastes more like a spice cake than anything else. I could slap some icing on one and call it a cupcake without anyone noticing.

This time, I was looking for more of a bread recipe, where the zucchini is the star, not the cinnamon or the nutmeg.  I thought, let’s take my mother-in-law’s beloved banana bread recipe, swap zucchini for the bananas and see how it turns out.

Good thing I made two loaves.  Not only did my husband love it, but my sister claimed a loaf for herself.  It is moist, flavorful, and uses up at least some of the zucchini that I’ve enjoyed all summer from my garden — although there’s still a lot more to left. I’m open to more suggestions!

Zucchini Bread

Ingredients

1-1/4 cups shredded zucchini (about 1 medium zucchini)

1/3 cup melted butter

3/4 cup sugar

1 egg (beaten)

1 tsp vanilla

1 tsp baking soda

pinch of salt

1-1/2 cups all-purpose flour

sprinkle of cinnamon and nutmeg (optional)

1/2 cup chopped toasted walnuts (optional)

Directions:

Pre-heat oven to 350 degrees. In a large bowl, mix the shredded zucchini with the melted butter, then add the sugar, beaten egg, and vanilla. Sprinkle the baking soda and salt over the mixture, then fold in the flour until well-incorporated. Add just a little cinnamon and nutmeg, if using, and the walnuts, again, if you’re using them.

Pour into a buttered loaf pan and tap the pan on the counter to help remove any air bubbles. Bake about 55 minutes or until a toothpick inserted in the center comes out clean. Enjoy!

Old Recipe, New Trick: Late Summer Gazpacho

by Anya Kroupnik Gazpacho

Gazpacho may be a time-honored summer recipe, but it’s one that I wasn’t a fan of in the past. Maybe it was too chunky, or even too cold, but I’ve recently rediscovered this classic and now I am hooked. I’ve made half a dozen varieties over the past month, incorporating a different mix of fresh ingredients from my garden or the farmers market, and each version has been summery, fresh, and vibrant from the fresh herbs and juicy — preferably heirloom — tomatoes.

Although most recipes call for chilling the gazpacho, I prefer to serve my version at room temperature. This particular recipe has a lovely sweetness from the beets, which are just now appearing at the local markets, and the fresh oregano, along with the drizzle of oregano-infused olive oil, brings an unexpected spiciness to the dish.

Oregano oil

Late Summer Gazpacho

Serves 2

3 medium-sized ripe tomatoes, any variety, roughly chopped

2 small beets, peeled and boiled or steamed until tender

3 garlic cloves, peeled and roughly chopped

2 sprigs of fresh oregano, several beautiful leaves reserved for garnish

¼ cup fresh basil, loosely packed

Salt & pepper to taste

Several cherry or pear tomatoes in different colors for garnish

1 tablespoon oregano-infused olive oil* or any other olive oil

This delicious recipe is quick to assemble. Put first five ingredients into a blender and purée on high for 20+ seconds until gazpacho is smooth. Add salt and pepper to taste. Pour into serving bowls and drizzle with the olive oil. Garnish with halved cherry tomatoes and reserved oregano leaves and serve immediately.

* To make oregano-infused olive oil: simply put fresh oregano into a jar or bottle of olive oil and let it infuse for 2+ weeks. Can be stored in a cool dark cupboard for up to six months.

Notes:

  • The herb combination can be switched up to whatever you have that’s fresh. For instance, chives are delicious as a garnish and in the soup as well.
  • Experiment with the ingredients: it’s wonderful with just tomatoes, and creamier with the addition of ripe avocados.
  • Due to the beautiful hue of this gazpacho, white bowls will really make the color POP.
  • This is a great soup to serve for a dinner party since it can be made several hours ahead of time and refrigerated until you are ready to serve — or, if you also like your gazpacho room temperature like I do, just take it out of the refrigerator about 30 minutes before serving to take off the chill.

Gazpacho


Spaghetti ai Granchi

by Giacomo Abrusci CrabNet

It’s crab season here in the Chesapeake Bay region, where we cover our tables with sheets of butcher’s paper and Old Bay is king all summer long. Whether you pick your crabs up from the waterfront fish markets in southwest DC or jump right into the Bay like my father and me, here’s a recipe to have seafood lovers licking their lips all day long: Spaghetti ai Granchi, or spaghetti with crab.

CookedCrabs

First clean the fresh uncooked crabs by removing the shells and washing them thoroughly — you’ll do this when they are really cold (either by storing them on ice or refrigerating them), which makes them dormant and easier to work with — then set them in the refrigerator until you’re ready to get to business.  I like leaving the tomalley — that’s the greenish goo, otherwise known as the crab’s liver and considered a delicacy, that you’ll find on the inside of the crab once you remove the shells — but this is not everyone’s style.

CrabStew

Start a basic marinara sauce with some olive oil, chopped onion, maybe some hot pepper, a mouthful of white wine, and some fresh crushed tomatoes. When the sauce is simmering nicely, add the crabs and let that cook uncovered on low heat for at least thirty to forty-five minutes.  Add a little more water or wine if the sauce is starting to get too thick and then add salt and pepper to taste.  Once you’re ready, move the crabs to a serving platter and cook your spaghetti until it is just al dente. Drain the pasta and add it to your sauce with a fistful of fresh parsley and serve with the crabs or as two separate courses.

Spaghetti

A delicious alternative to our usual Old Bay steamers!  Click here to learn more about crabbing and fishing in our area.

The Savory and Sweet Fruits of Summer

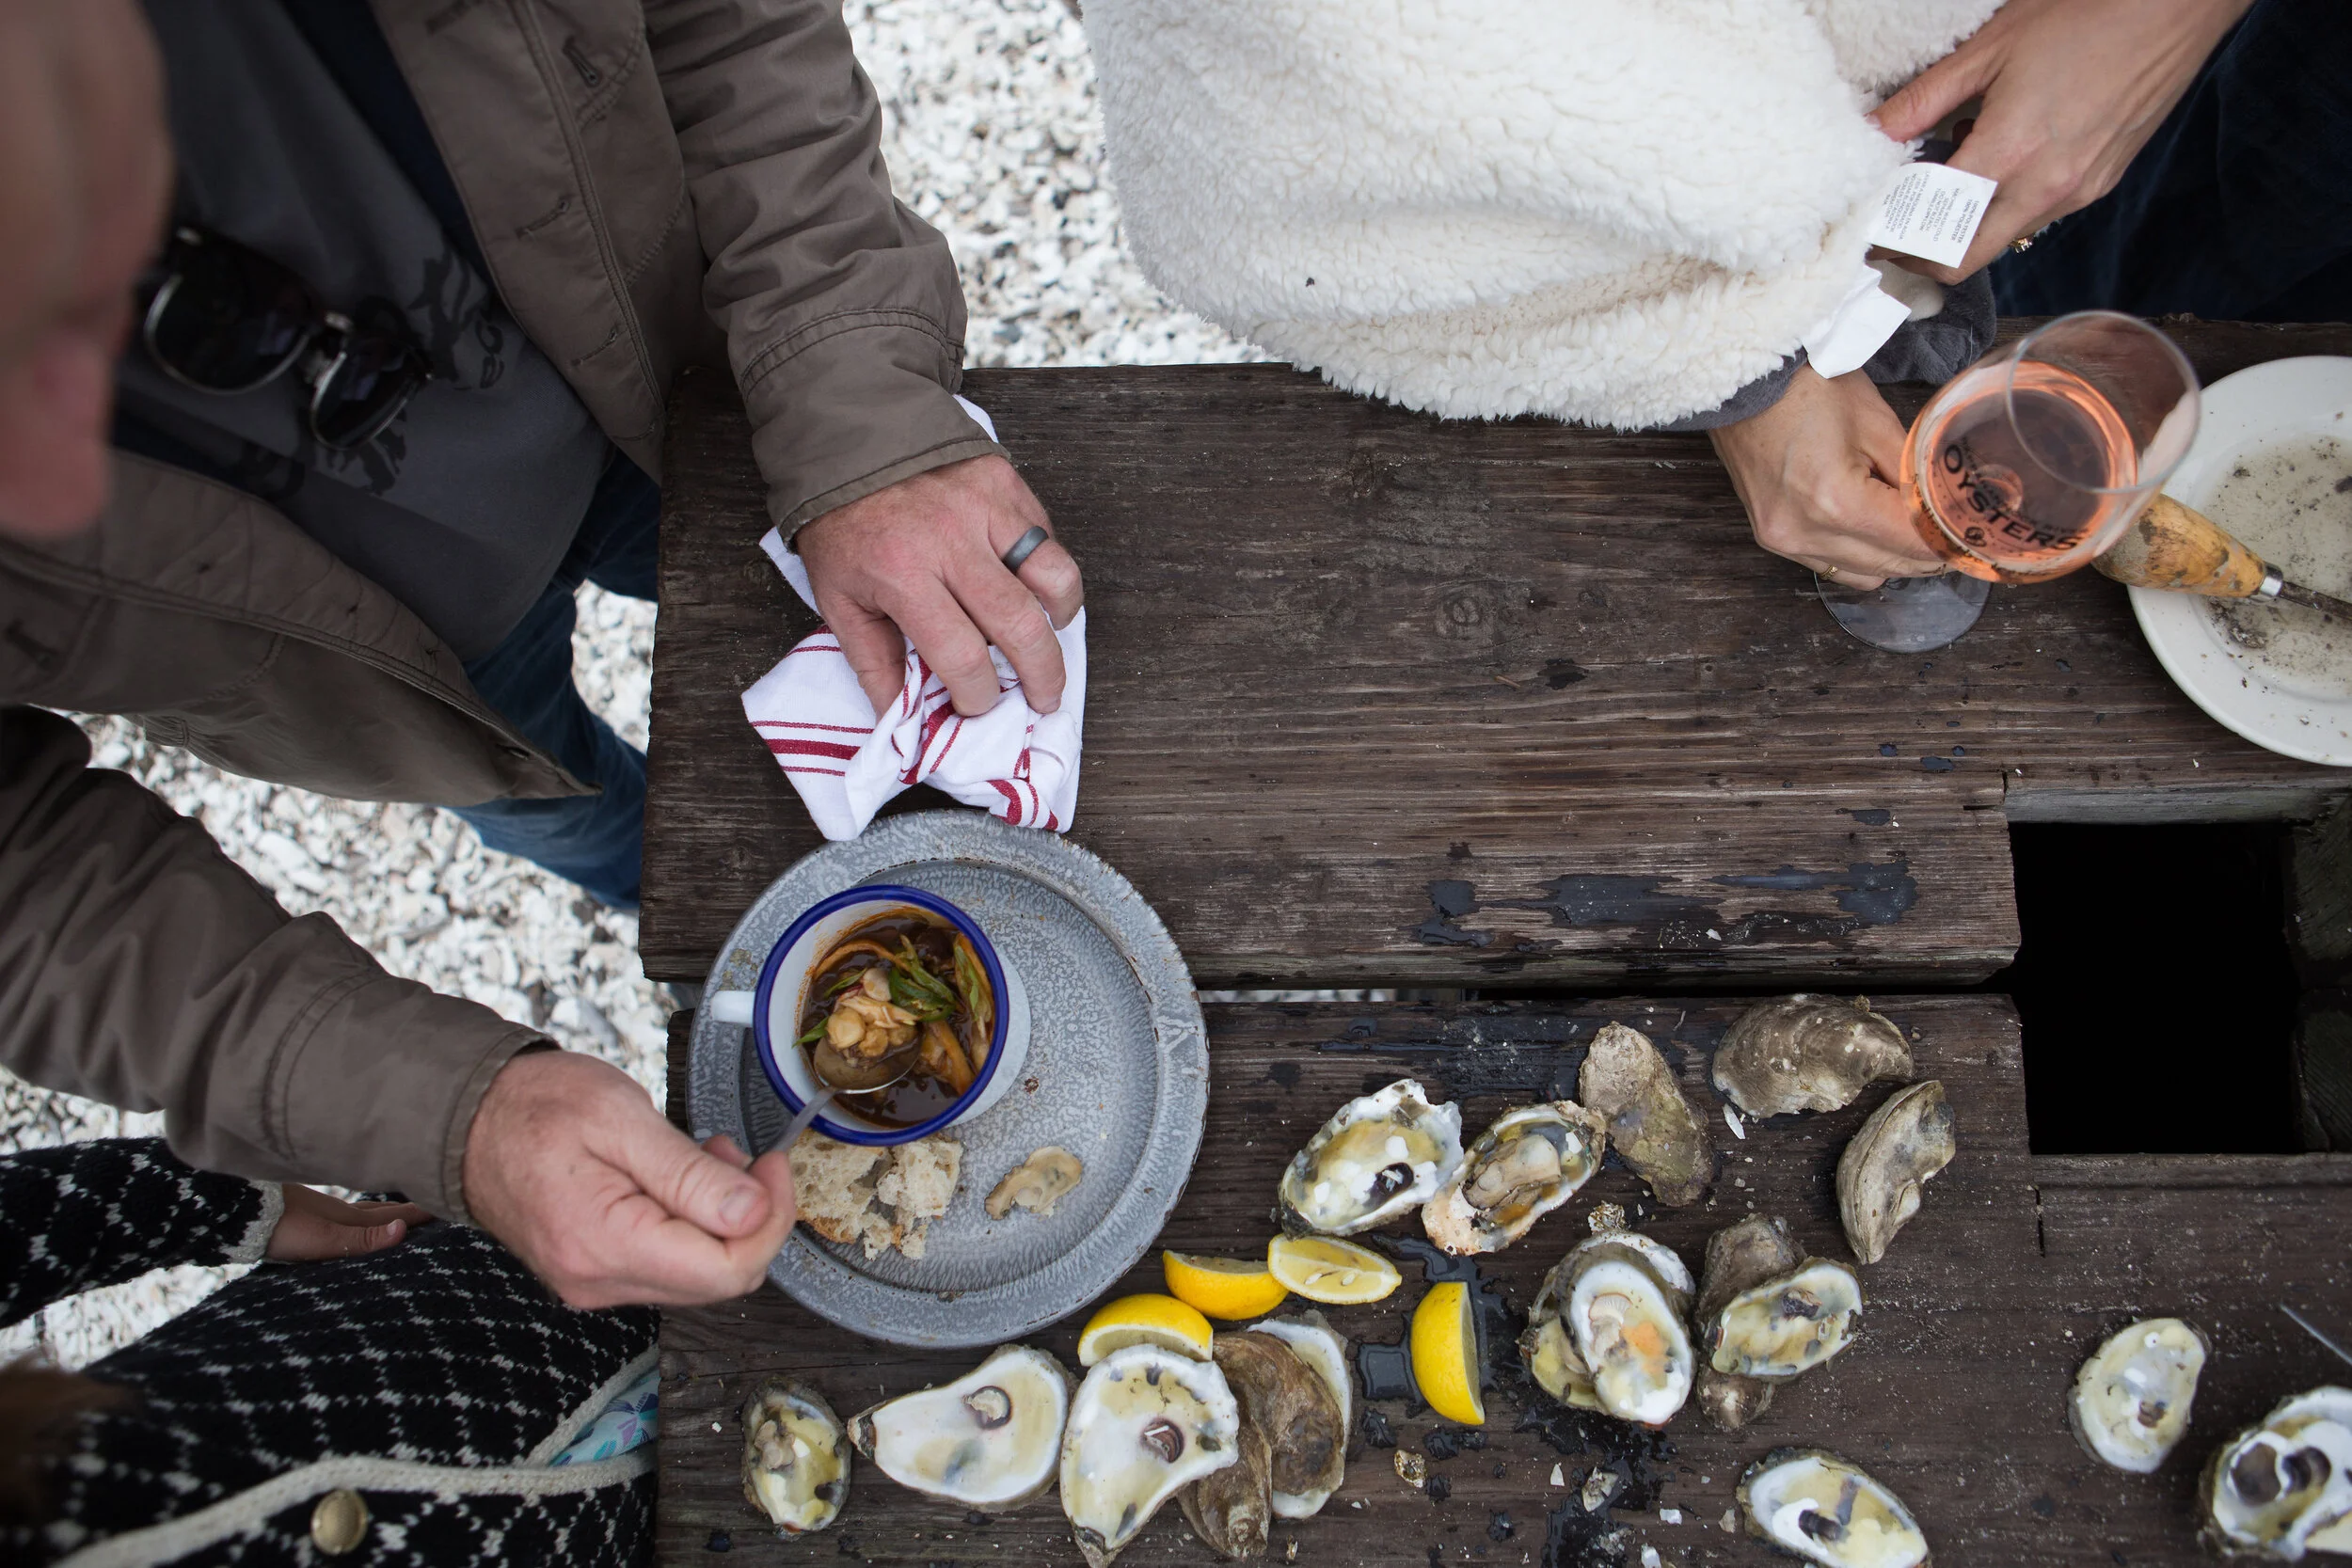
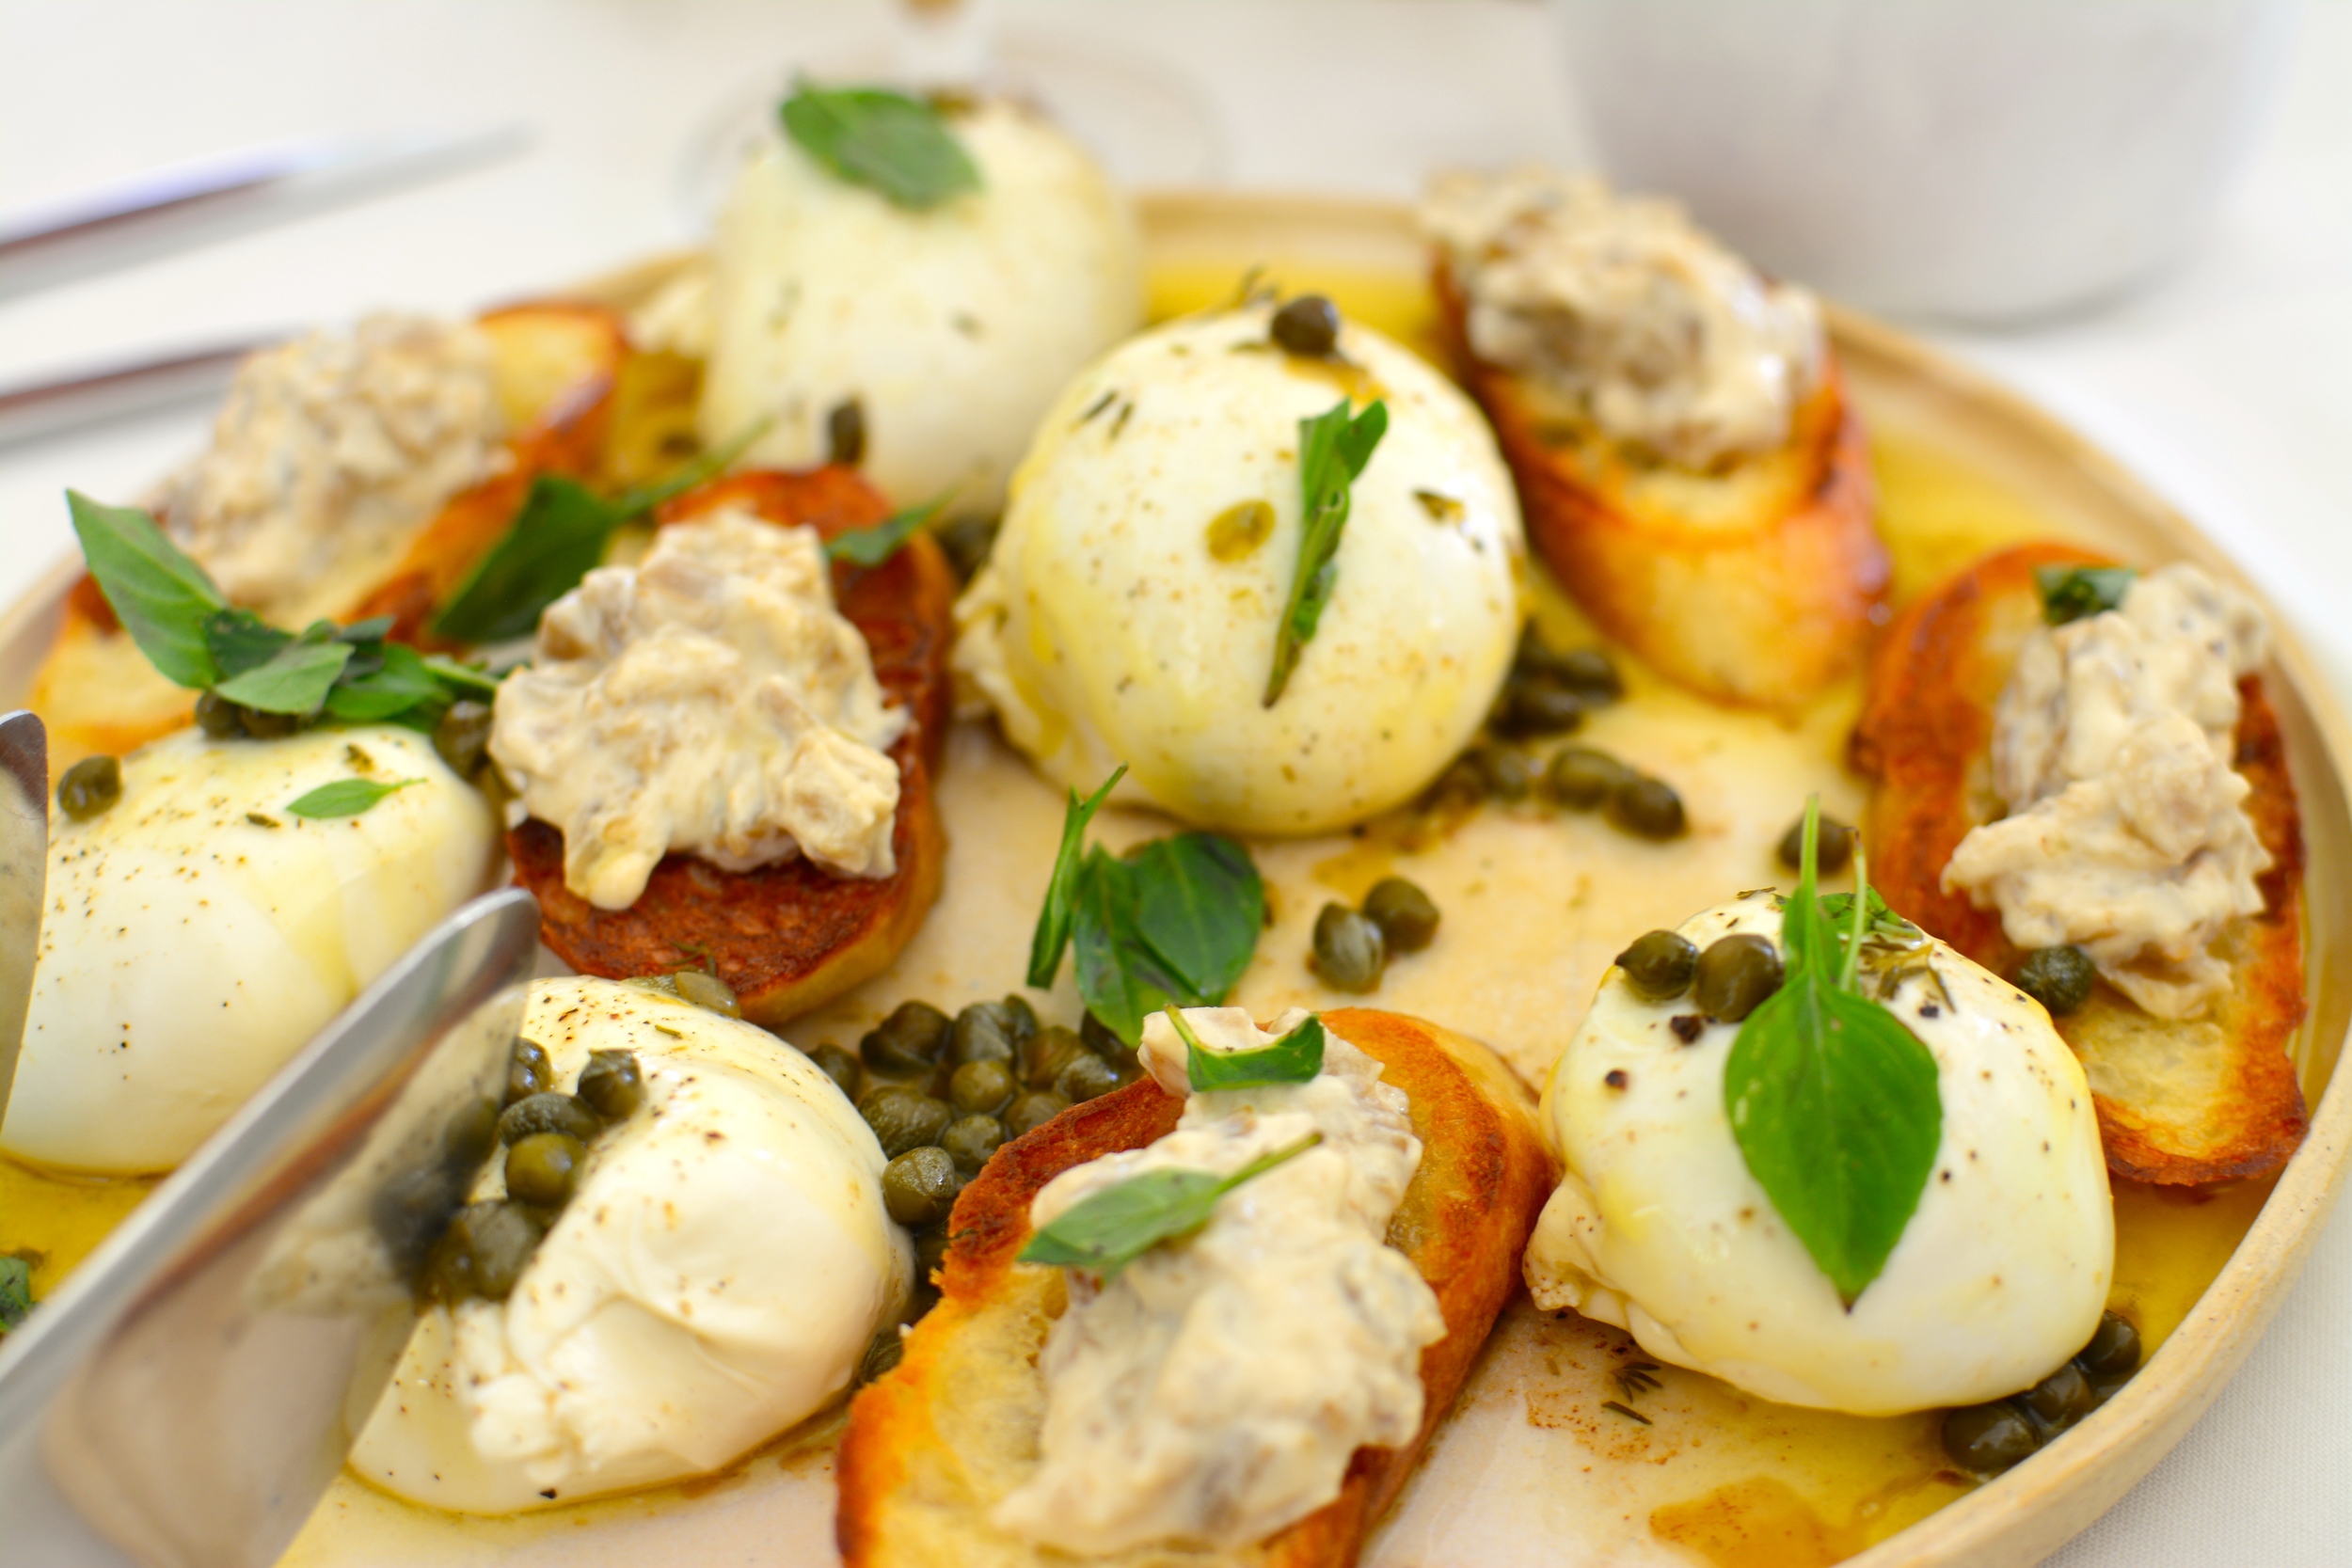
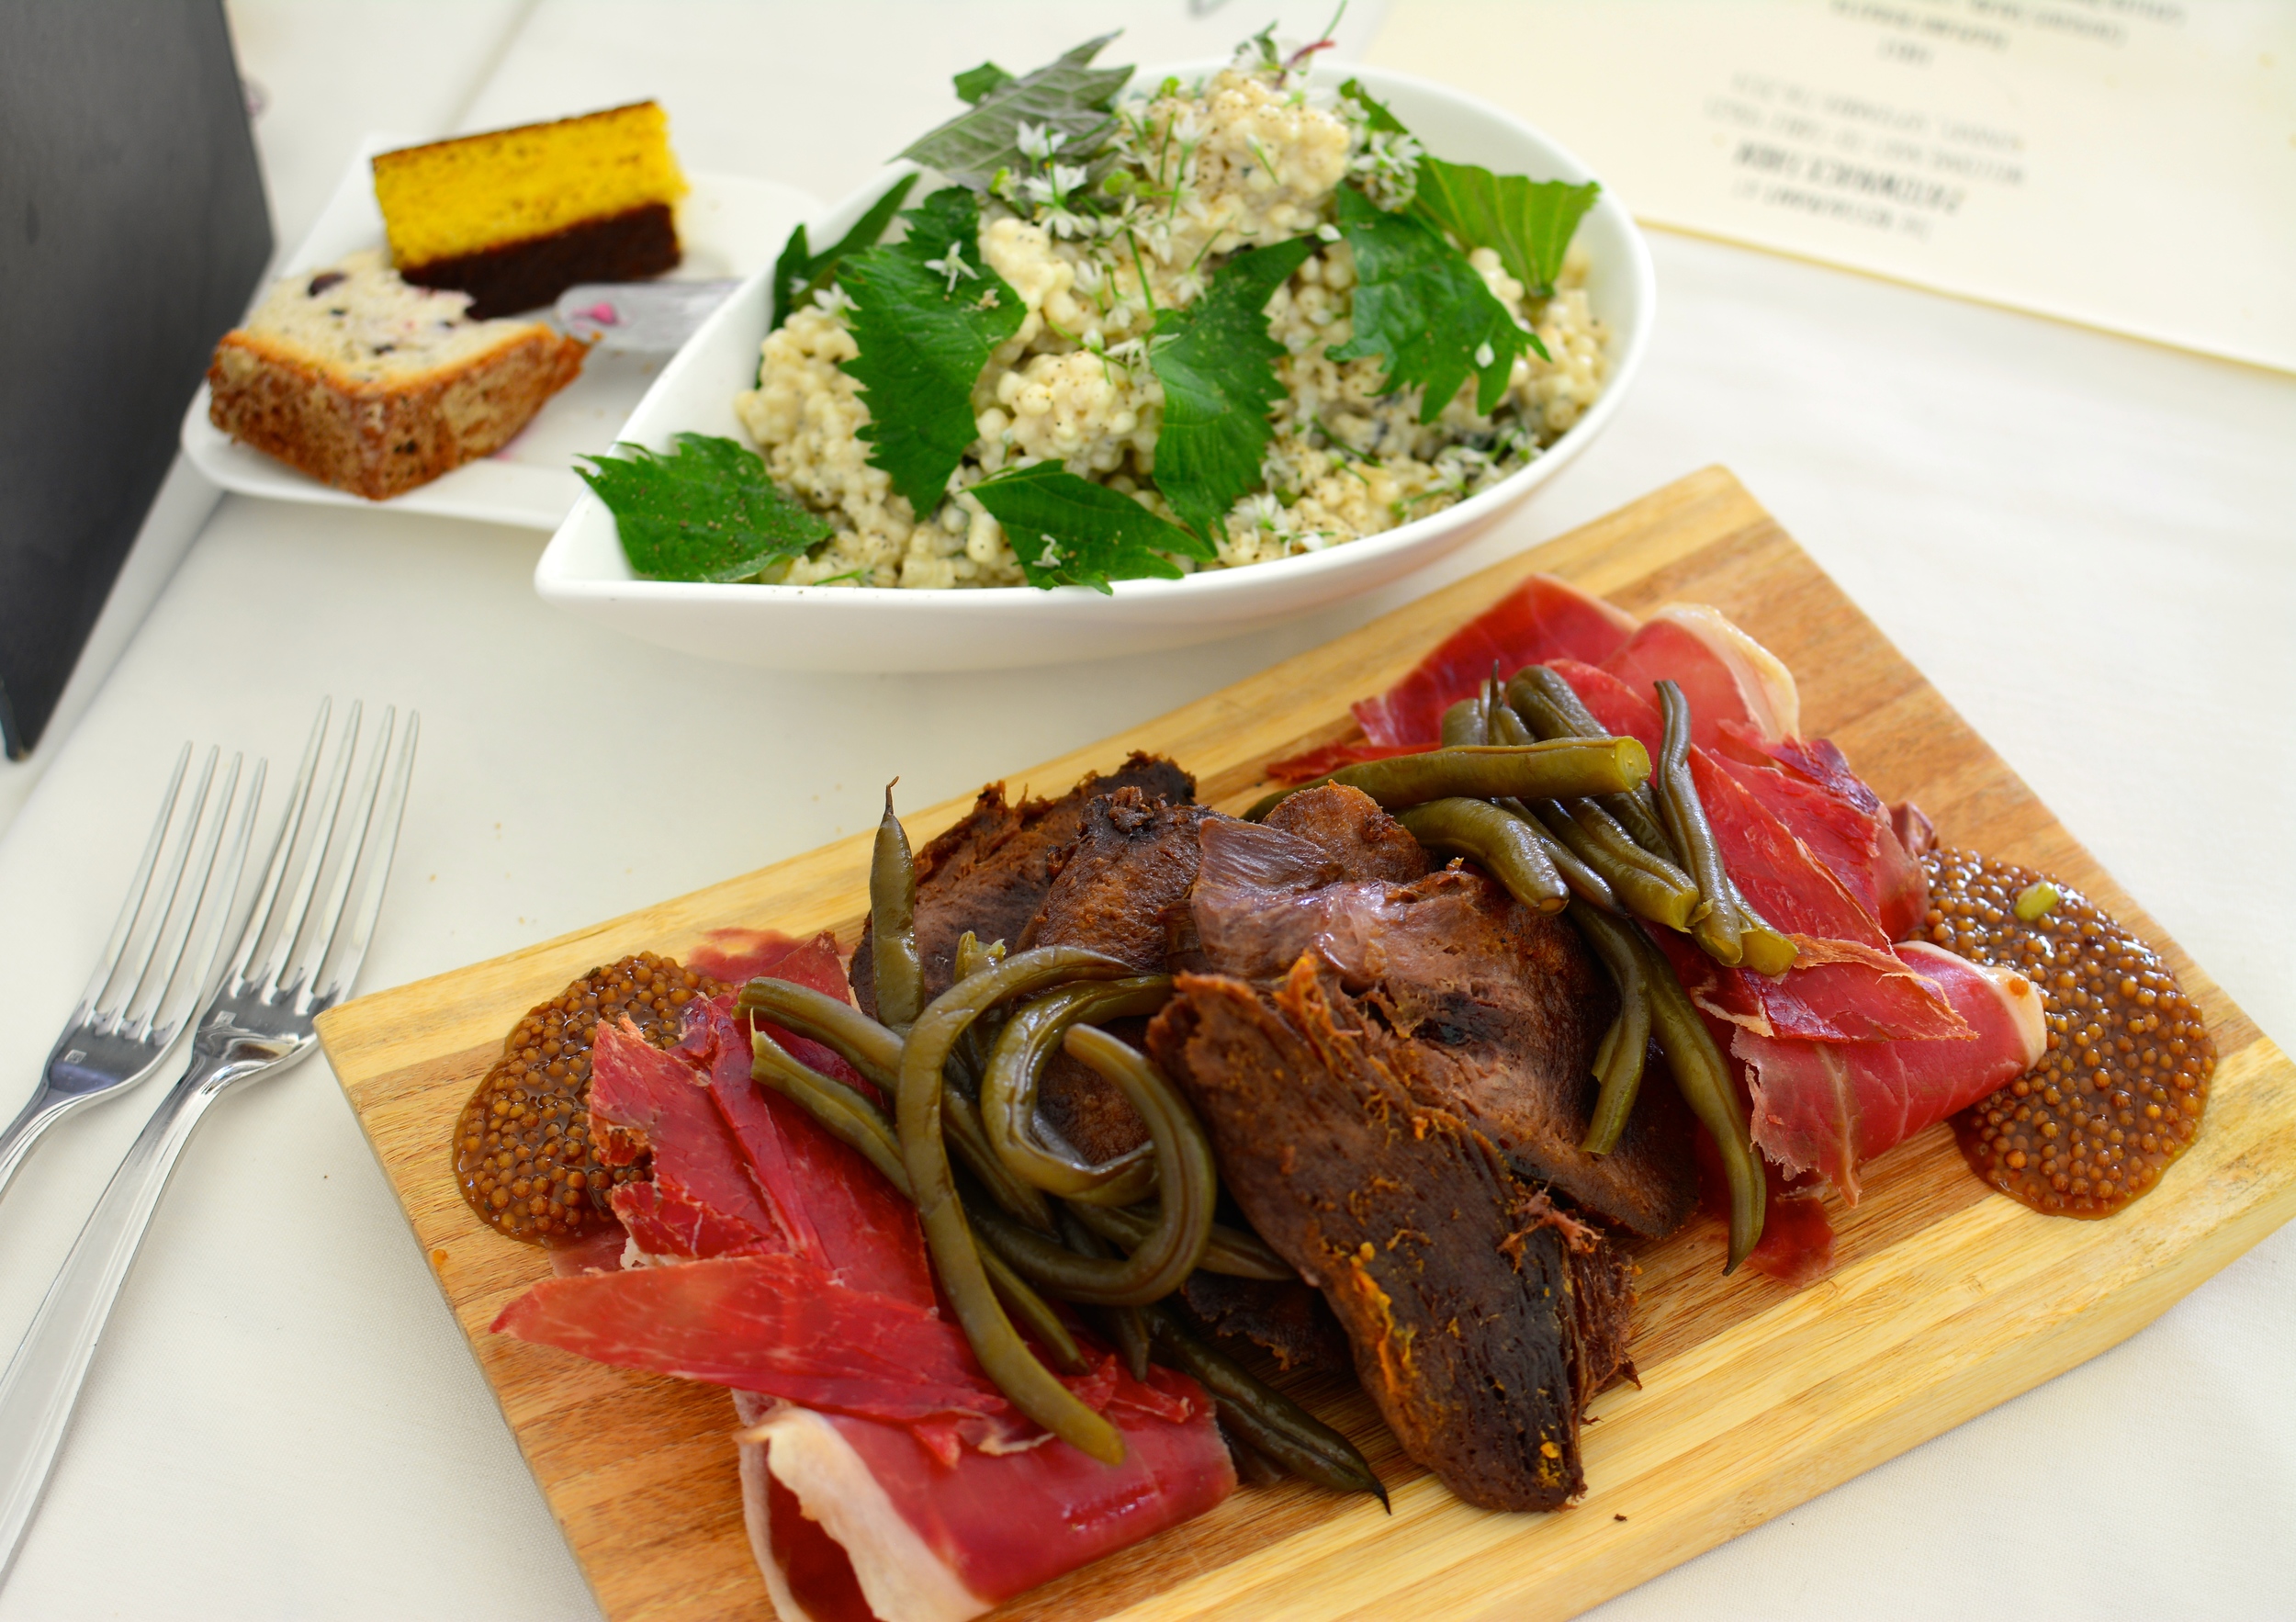
It’s late August and the local farmers markets are overflowing with the best fruits of the summer season — peaches and tomatoes. Juicy and luscious, they can be at their best when the summer is at its worst, providing a sweet respite to the most sweltering day. Here we have two perfect late summer recipes to make the most of the season, one savory and one sweet: a French Tomato Tart and Brandied Peach Pie. Enjoy! French Tomato Tart, inspired by David Lebovitz

by Madeleine McDougall

Tomato Tart

Harvest season. You know you're there when big, ripe, juicy tomatoes pack every farmers market from here to Silver Spring. Growing up, tomatoes tasted too acidic to me, but last summer, my mom — a constant source of knowledge and inspiration for my cooking adventures — introduced me to the French Tomato Tart. I will never look at tomatoes -- or pie -- in the same way again! Something about the combination of flaky pastry dough, toasted goat cheese and fresh herbs brings out the true flavors of the tomatoes. Last weekend, I had some dear friends over to help me experiment with the recipe; these tarts are the perfect compliment to charcuterie, lots of wine, and deep belly laughs. A new summer tradition is born — and the best part is, it’s simple to make. 

You'll need a rolling pin and a baking sheet lined with parchment paper.

Tomatoes

Tart Filling

Dijon or whole-grain mustard

2-3 large ripe tomatoes — try experimenting with heirloom varieties

2 tablespoons olive oil

salt and freshly ground pepper

two generous tablespoons chopped fresh herbs (I recommend tarragon but thyme is also nice)

6 ounces fresh or slightly aged goat cheese, separated into quarter-sized balls

1.5 tablespoons flavorful honey

Dough

Tart Dough

1.5 cups flour

4.5 ounces unsalted butter, chilled, cut into cubes

1/2 teaspoon salt

1 large egg

2-3 tablespoons cold water

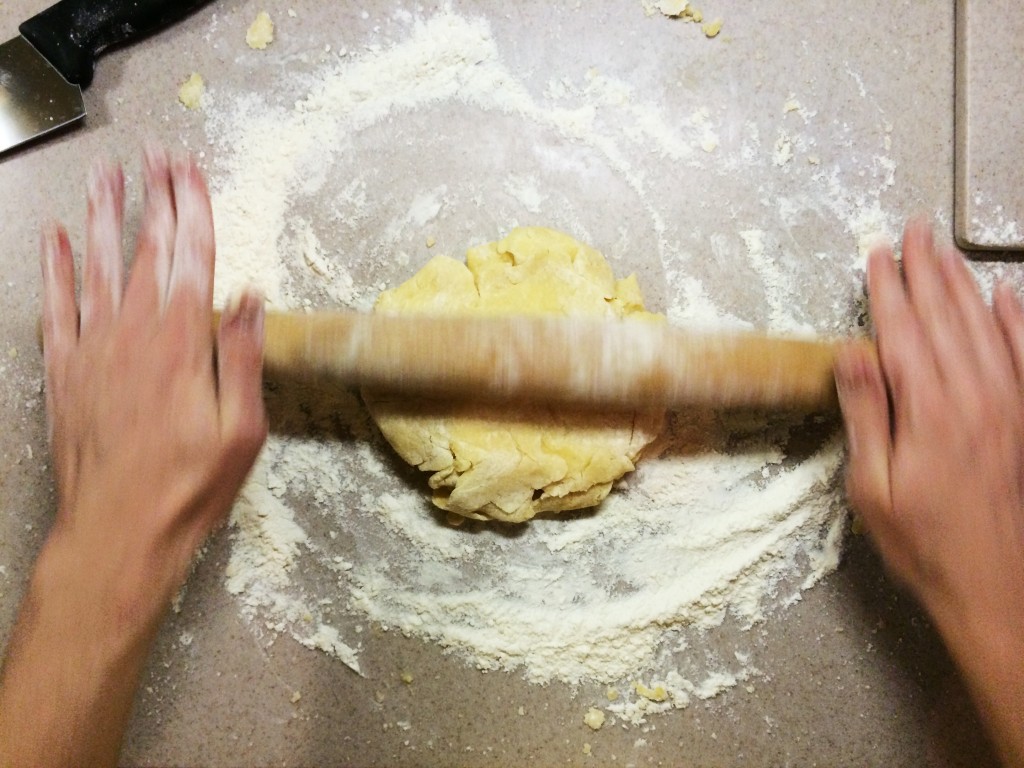
1. Make the dough by mixing the flour and salt in a bowl. Add the butter and use your hands, or a pastry blender, to break in the butter until the mixture has a crumbly, cornmeal-like texture.

2. Mix the egg with 2 tablespoons of the water. Make a well in the center of the dry ingredients and add the beaten egg mixture, stirring the mixture until the dough holds together. If it’s not coming together easily, add the additional tablespoon of ice water.

3. Gather the dough into a ball and roll the dough on a lightly floured surface, adding additional flour only as necessary to keep the dough from sticking to the counter.

4. Once the dough is large enough so that it will hold your tomatoes, roll the dough around the rolling pin then unroll it over baking sheet.

5. Preheat the oven to 425ºF.

6. Spread an even layer of mustard over the bottom of the tart dough and let it sit a few minutes to dry out.

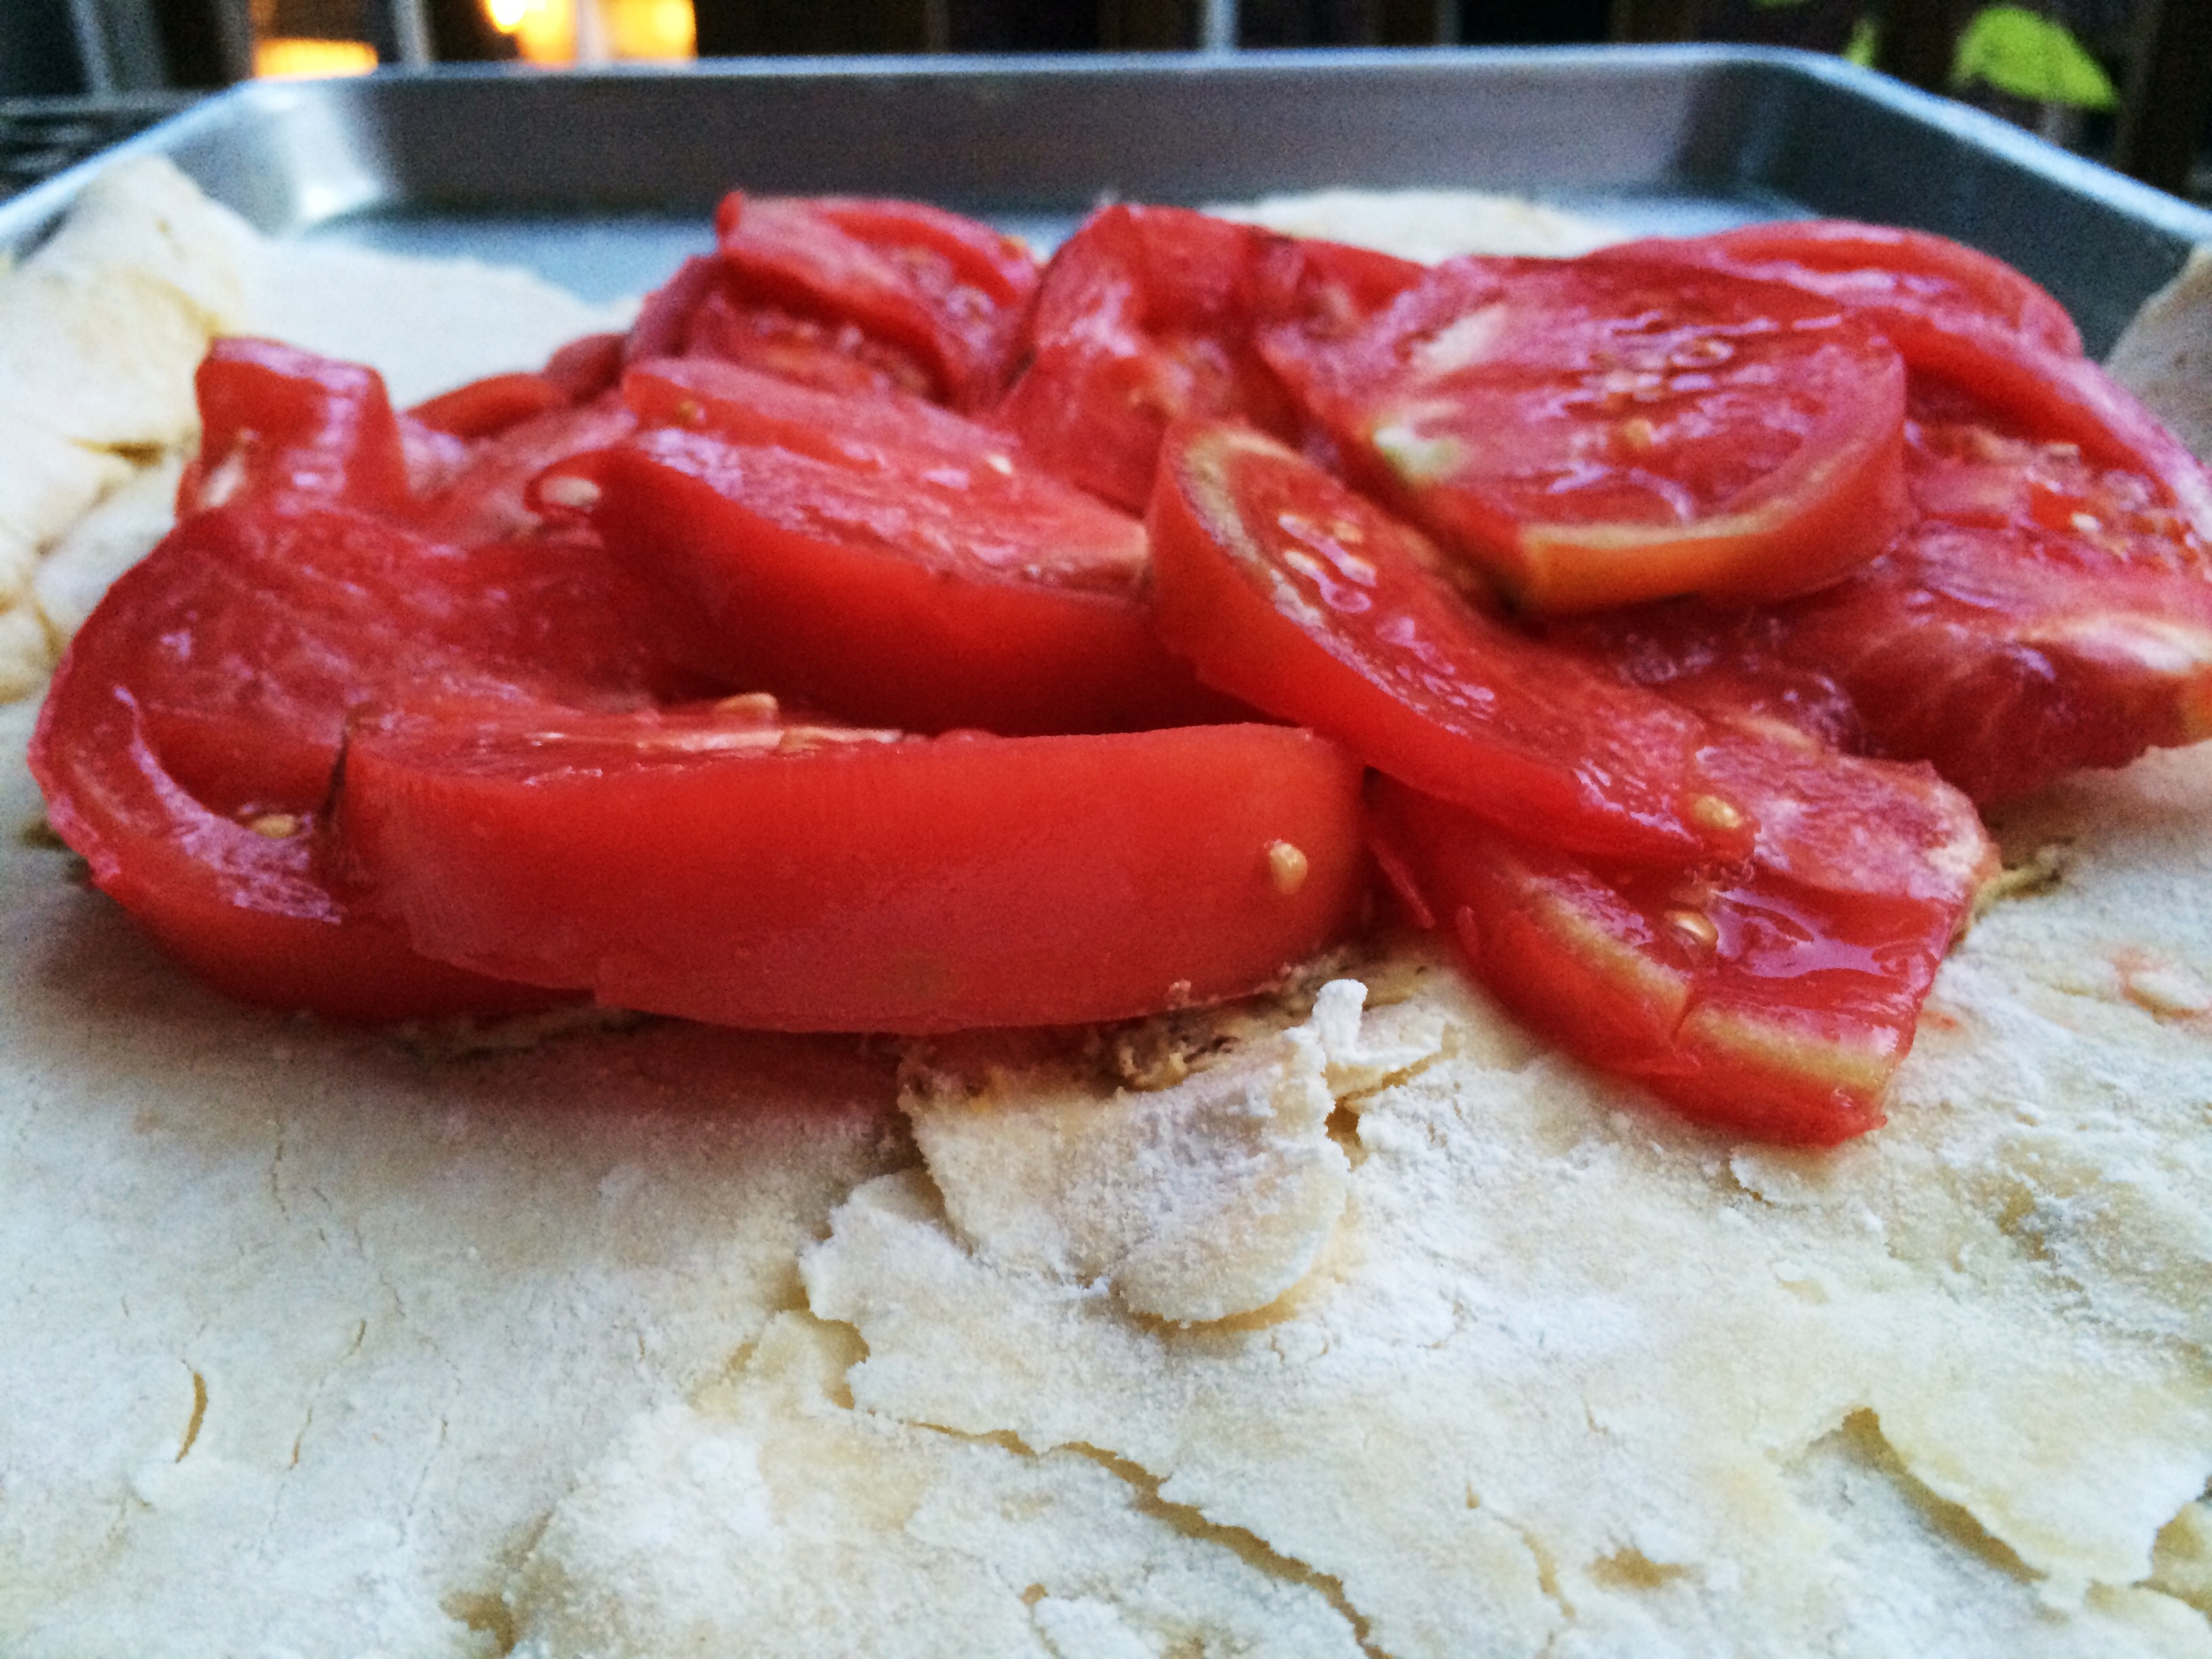
7. Slice the tomatoes and arrange them over the mustard in a single, even layer. Drizzle the olive oil over the top.

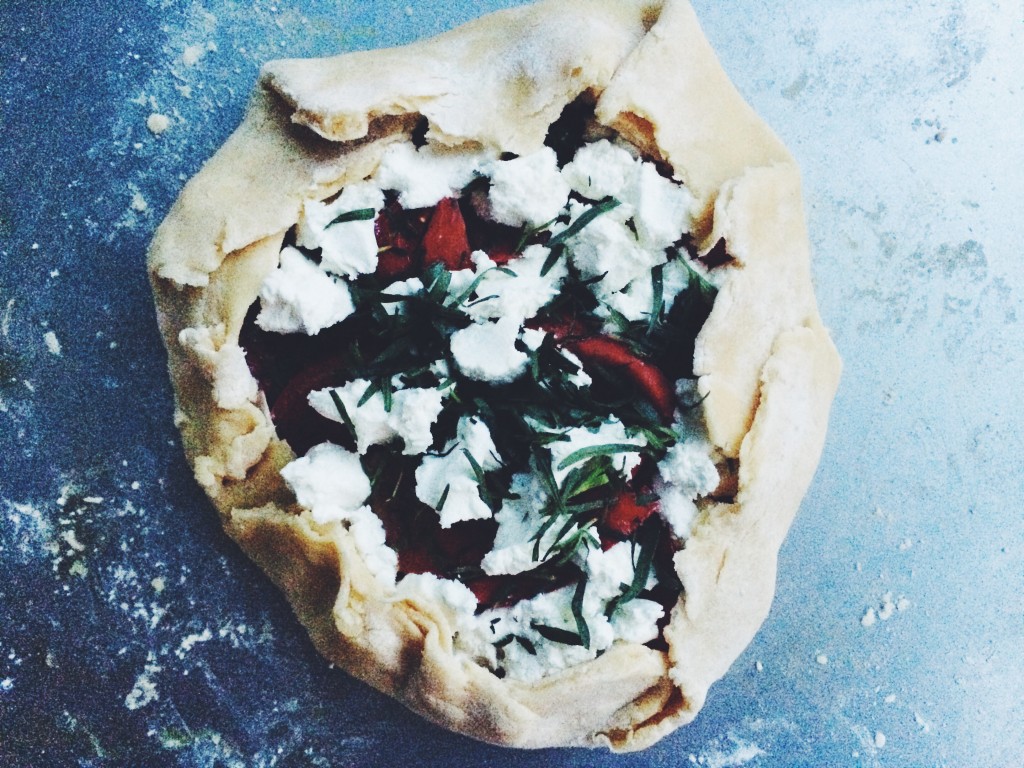
8. Sprinkle with some chopped fresh herbs, then arrange the slices of goat cheese on top. Add some more fresh herbs, then drizzle with some honey, if using.

9. Gather the edges when you’re done, to envelope the filling.

10. Bake the tart for 30-40 minutes, until the dough is cooked, the tomatoes are tender, and the cheese on top is nicely browned. Depending on the heat of your oven, if the cheese doesn’t brown as much as you’d like it, you might want to pass it under the broiler until it’s just right.

NOTE: I like to really embrace the country style of this recipe and mark the tart free form, but you can also use a tart pan.

Brandied Peach Pie

by Kristen Hartke

Brandied Peach Pie

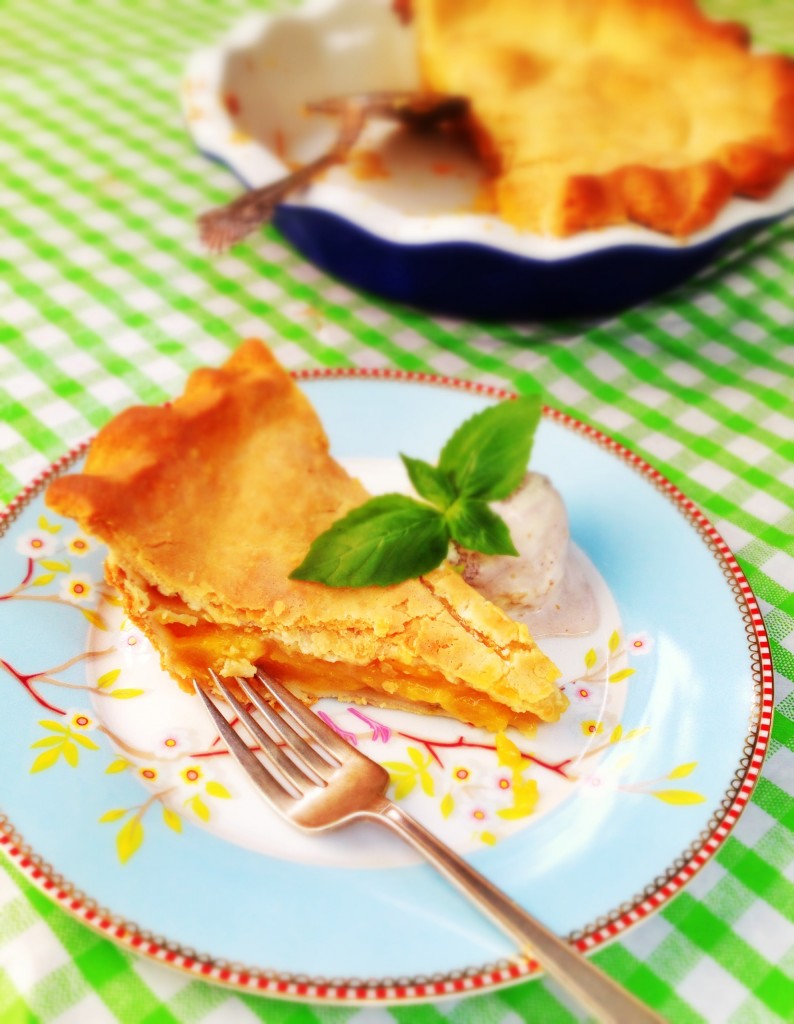
Walking through Capitol Hill’s Eastern Market on a Saturday afternoon, I am always overwhelmed by the amazing scent of ripe peaches, tottering in massive piles all along the farmer’s line. For me, the smell is everything that is good about summer, capturing the essence of long lazy days in the warm sunshine. In the dark of winter, when I am dreaming of summer, I sometimes like to recapture those moments with a tot of peach brandy made by Catoctin Creek Distilling Company in nearby Purcellville, Virginia — unlike most peach brandies, their brandy is not too sweet but has an underlying note of fresh peaches that you smell as soon as you bring the glass to your nose. Marrying fresh summer peaches and a smidge of peach brandy together into a glorious pie is a perfect way to celebrate the changing seasons as we get ready to welcome fall.

You’ll need fresh pastry for a two-crust pie; I like to make a vegan pie crust similar to this one by Savvy Vegetarian (http://www.savvyvegetarian.com/vegetarian-recipes/vegan-pie-crust.php), so that none of my friends have to be left out of dessert.

Preheat oven to 400ºF.

3 cups sliced fresh peaches, skins removed (see Cooking Hack for skin removal tips)

1/2 cup granulated sugar

1/4 cup peach brandy

1/4 cup all-purpose flour

2 teaspoons basil buds (these are the little buds you’ll find growing on your basil plant and sometimes also for sale at the farmers market; a little goes a long way; you can also use finely chopped basil)

1 tablespoon heavy cream or vegan soy or coconut creamer

1 tablespoon regular or vegan butter, broken into pieces

2 chilled unbaked pie crusts

Put peaches, sugar, and brandy into a bowl and mix together. Allow to sit for 15 minutes, then add the flour and basil buds. Combine well and pour into the pie pan that is lined with one of the chilled unbaked pie crusts. Dot the top of the peach filling with the butter. Roll the other crust over the top, tuck the edges of the top crust under the edges of the bottom crust and crimp together. Brush the top of the crust with the heavy cream (or vegan alternative), then cut a few slits in the top of the crust to let the steam escape as it bakes.

Place the pie in the oven on the middle rack with a baking sheet on the rack below to catch any overflow during baking. Bake for 30 minutes at 400ºF, then cover the edges of the pie with strips of aluminum foil (to prevent burning) and lower the oven temperature to 375ºF. Continue baking for about 40 more minutes, until the crust is golden and the filling is bubbling. Remove from oven and cool completely.

Serve with lightly sweetened whipped cream or vegan vanilla ice cream.

**Cooking Hack: to remove peach skins, pour boiling water over whole peaches, let sit for a minute or two, then run under cold water. The skins will slip off easily with your fingers!